This website contains affiliate links. Some products were gifted for testing. Content may include AI assistance. Images are illustrative, not official Amazon images, and may differ from actual products. As an Amazon Associate, I earn from qualifying purchases.
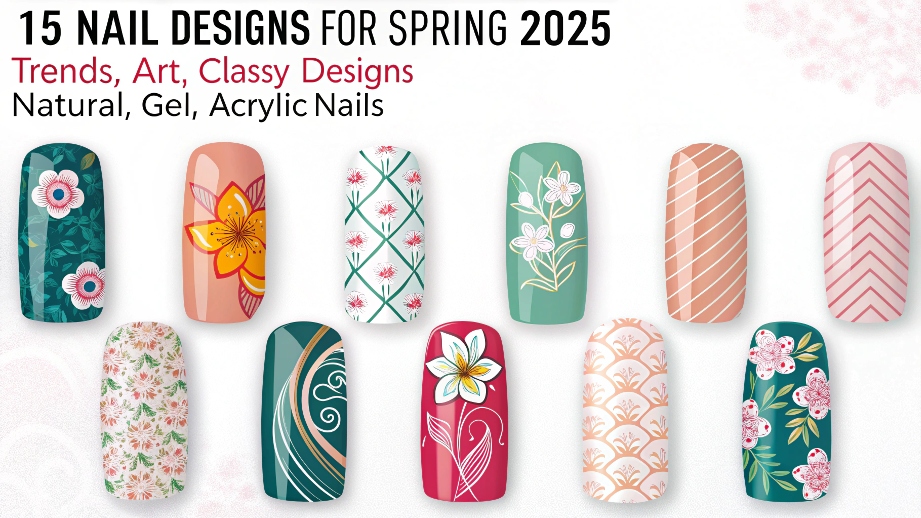
this blog post is about March Nails Ideas For Spring
Hey there, nail art lover! Let me start with a little story. A few weeks ago, I walked into my favorite nail salon feeling completely uninspired.
It was February—still gray, still cold—and honestly? My nails were stuck in hibernation mode too.
But then something magical happened: the stylist showed me her vision board for spring nails. Instantly, I felt like skipping ahead to warmer weather, pastel skies, and fresh blooms. And that’s when it hit me—our nails are more than just accessories; they’re tiny canvases that can brighten our days (and moods)!
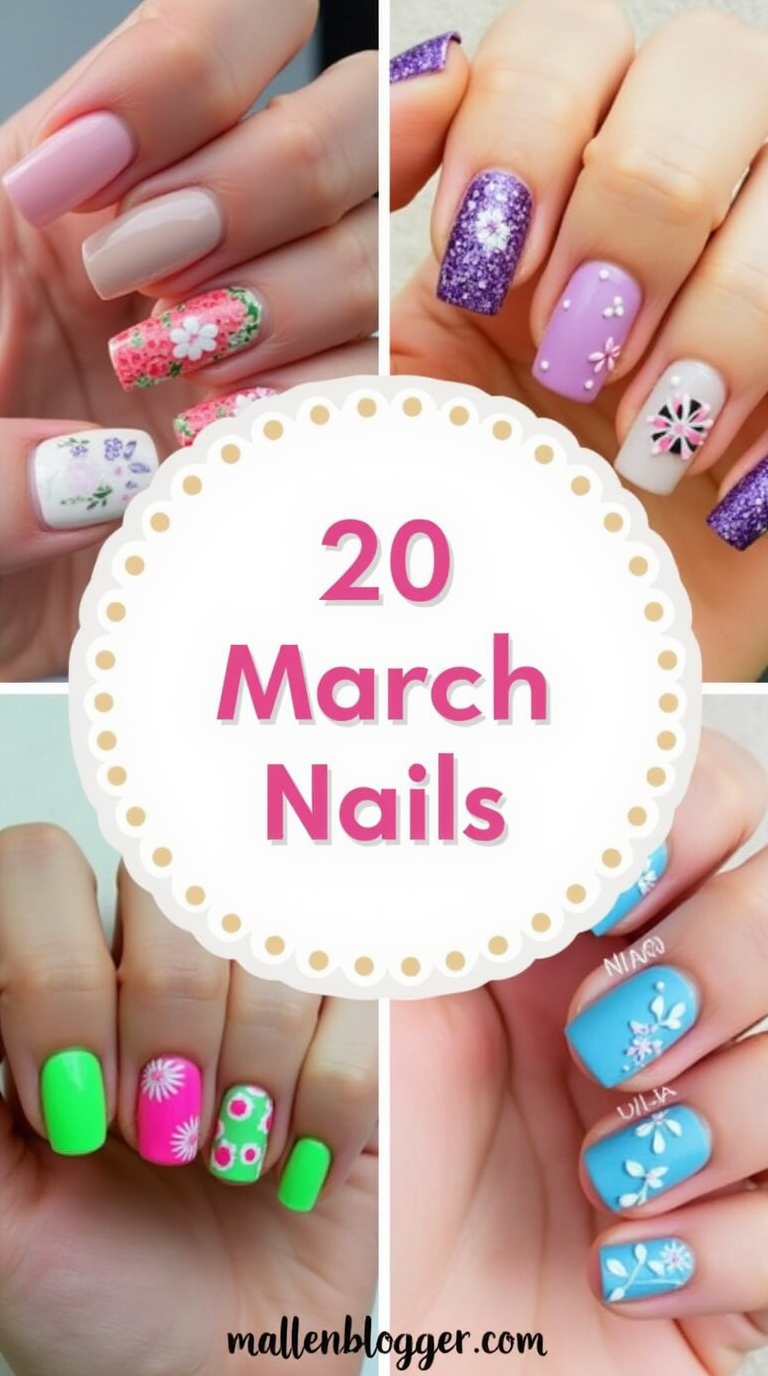
So, if you’re here because you want to spruce up your look for March or simply need some fresh ideas for spring 2025, you’re in the right place. In this article, we’ll explore 20 stunning nail designs tailored for natural, gel, and acrylic nails. Whether you’re into bold trends, delicate artwork, or classic elegance, I’ve got something special for everyone. Let’s dive in!
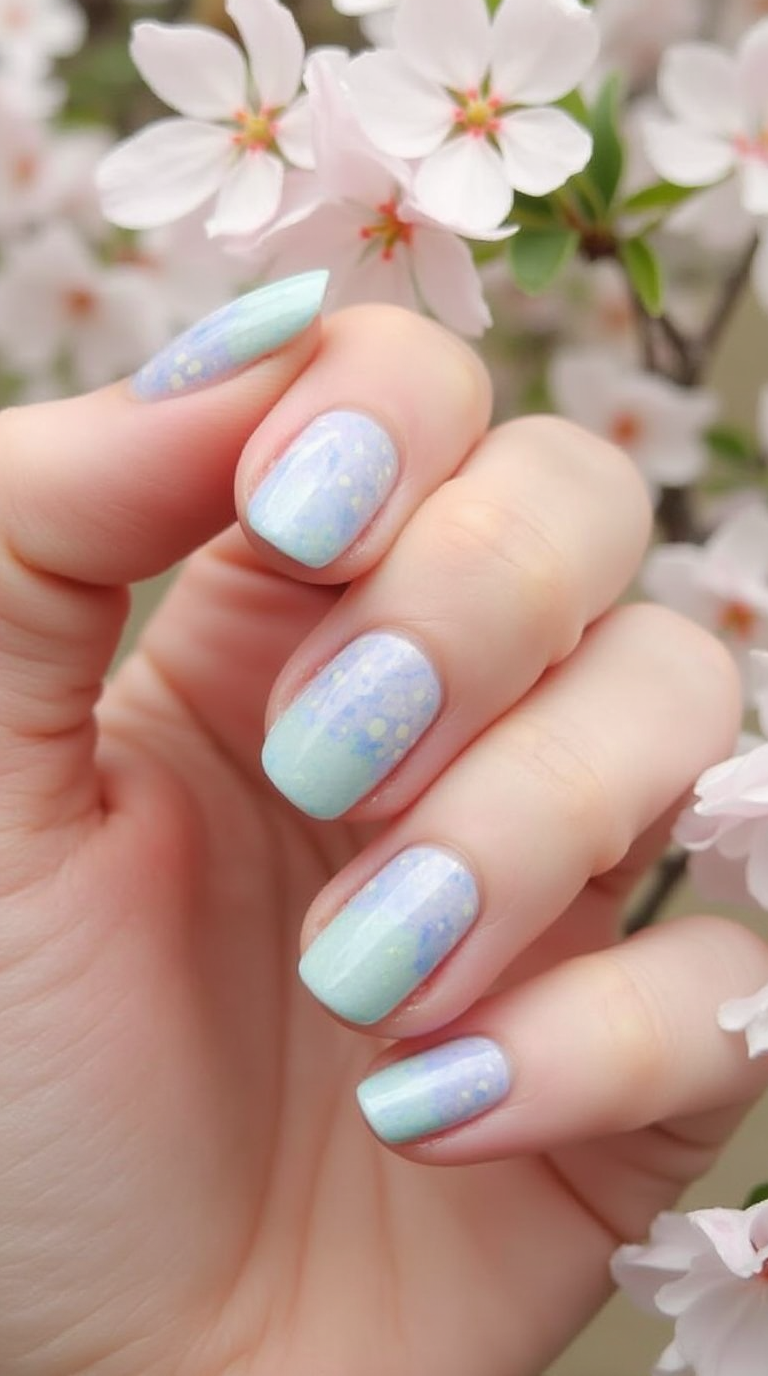
1. Pastel Paradise: Soft Shades That Say “Spring”
Picture this: You’re sipping on an iced latte under a canopy of cherry blossoms. The air smells sweet, and everything around you is soft pink, baby blue, and mint green. Now imagine those colors painted delicately onto your nails—it’s pure magic!
Step-by-Step Guide:
- Start with a base coat to protect your nails.
- Apply two coats of your chosen pastel shade (try lavender or peach).
- Add a glossy topcoat for shine and longevity.
- Optional: Use fine brushes to paint tiny flowers or dots for extra flair.
Personal Tip: If you’re unsure about committing to one color, try an ombre effect by blending shades together. Trust me, it looks amazing!
2. Floral Fantasy: Blooming Designs for Every Mood
Flowers aren’t just for gardens—they belong on your nails too! This trend is all about celebrating nature’s beauty through intricate floral patterns.
Picture This: Imagine walking barefoot through a sunlit meadow filled with daisies and wildflowers. That carefree vibe? Capture it on your fingertips.
Step-by-Step Instructions:
- Choose a light background color (like white or pale yellow).
- Using a dotting tool or small brush, create petals and leaves.
- Experiment with different flower shapes—roses, daisies, or even watercolor splashes work wonders.
- Finish with a clear topcoat to seal the design.
Relatable Example: Last year, I did a set of daisy nails for Easter brunch, and people couldn’t stop complimenting them. They added such a whimsical touch to my outfit!
3. Minimalist Marvels: Less Is More
For those who prefer understated chic, minimalist designs are perfect. Clean lines, geometric shapes, and monochromatic palettes make these nails timeless yet trendy.
Picture This: Picture yourself at a modern café, sipping matcha tea while flipping through a sleek fashion magazine. Your nails should feel just as polished and effortless.
How-To Steps:
- Opt for neutral tones like beige, gray, or black.
- Use tape or stencils to create sharp edges for stripes or blocks.
- Add subtle accents like gold foil or matte finishes for interest.
- Seal everything with a durable topcoat.
My Favorite Twist: Try mixing textures—a glossy finish paired with a matte accent finger creates contrast without overwhelming the eye.
4. Bold Bites: Statement Colors and Patterns
If subtlety isn’t your thing, let’s talk drama! Think deep emerald greens, fiery reds, and metallic accents. These nails scream confidence and fun.
Engaging Description: Picture standing out in a crowd wearing a pair of killer heels and matching nails. Everyone notices—you know it, and so do they.
Step-by-Step Guide:
- Pick a standout hue (think cobalt blue or hot pink).
- Consider adding patterns like chevrons, polka dots, or animal prints.
- Highlight one nail with extra embellishments (e.g., rhinestones or glitter).
- Finish strong with multiple layers of topcoat for long-lasting brilliance.
Pro Tip: Don’t be afraid to mix and match textures. Combining satin and glossy finishes adds depth to your design.
5. French Twist: Reimagined Classics
The French manicure has been revamped for 2025, featuring playful twists like neon tips, gradient effects, and unexpected color combinations.
Visualize This: Strolling down Parisian streets with nails that nod to tradition but pack a punch of personality.
Instructions:
- Paint your nails a solid base color.
- Use thin strips of tape to guide your tip application.
- Experiment with unconventional shades for the tips (pastels, metallics, etc.).
- Remove the tape carefully and apply a final layer of topcoat.
Fun Fact: When I first tried neon tips, I thought they’d be too bold, but they ended up being my go-to style for summer events!
6. Spring Stripes: A Pop of Fun
Who says stripes are just for clothing? This playful trend brings energy and excitement to your nail game. Whether horizontal, vertical, or diagonal, stripes add a modern twist to any design.
Picture This: You’re at a vibrant outdoor market surrounded by colorful stalls and lively chatter. Your nails should mirror that cheerful vibe.
Step-by-Step Guide:
- Choose a base color—anything goes!
- Use thin tape or stencils to create clean lines.
- Paint over the taped areas with contrasting colors.
- Carefully remove the tape and finish with a glossy topcoat.
Personal Tip: For an extra pop, try neon stripes against a neutral background. It’s eye-catching but not overwhelming.
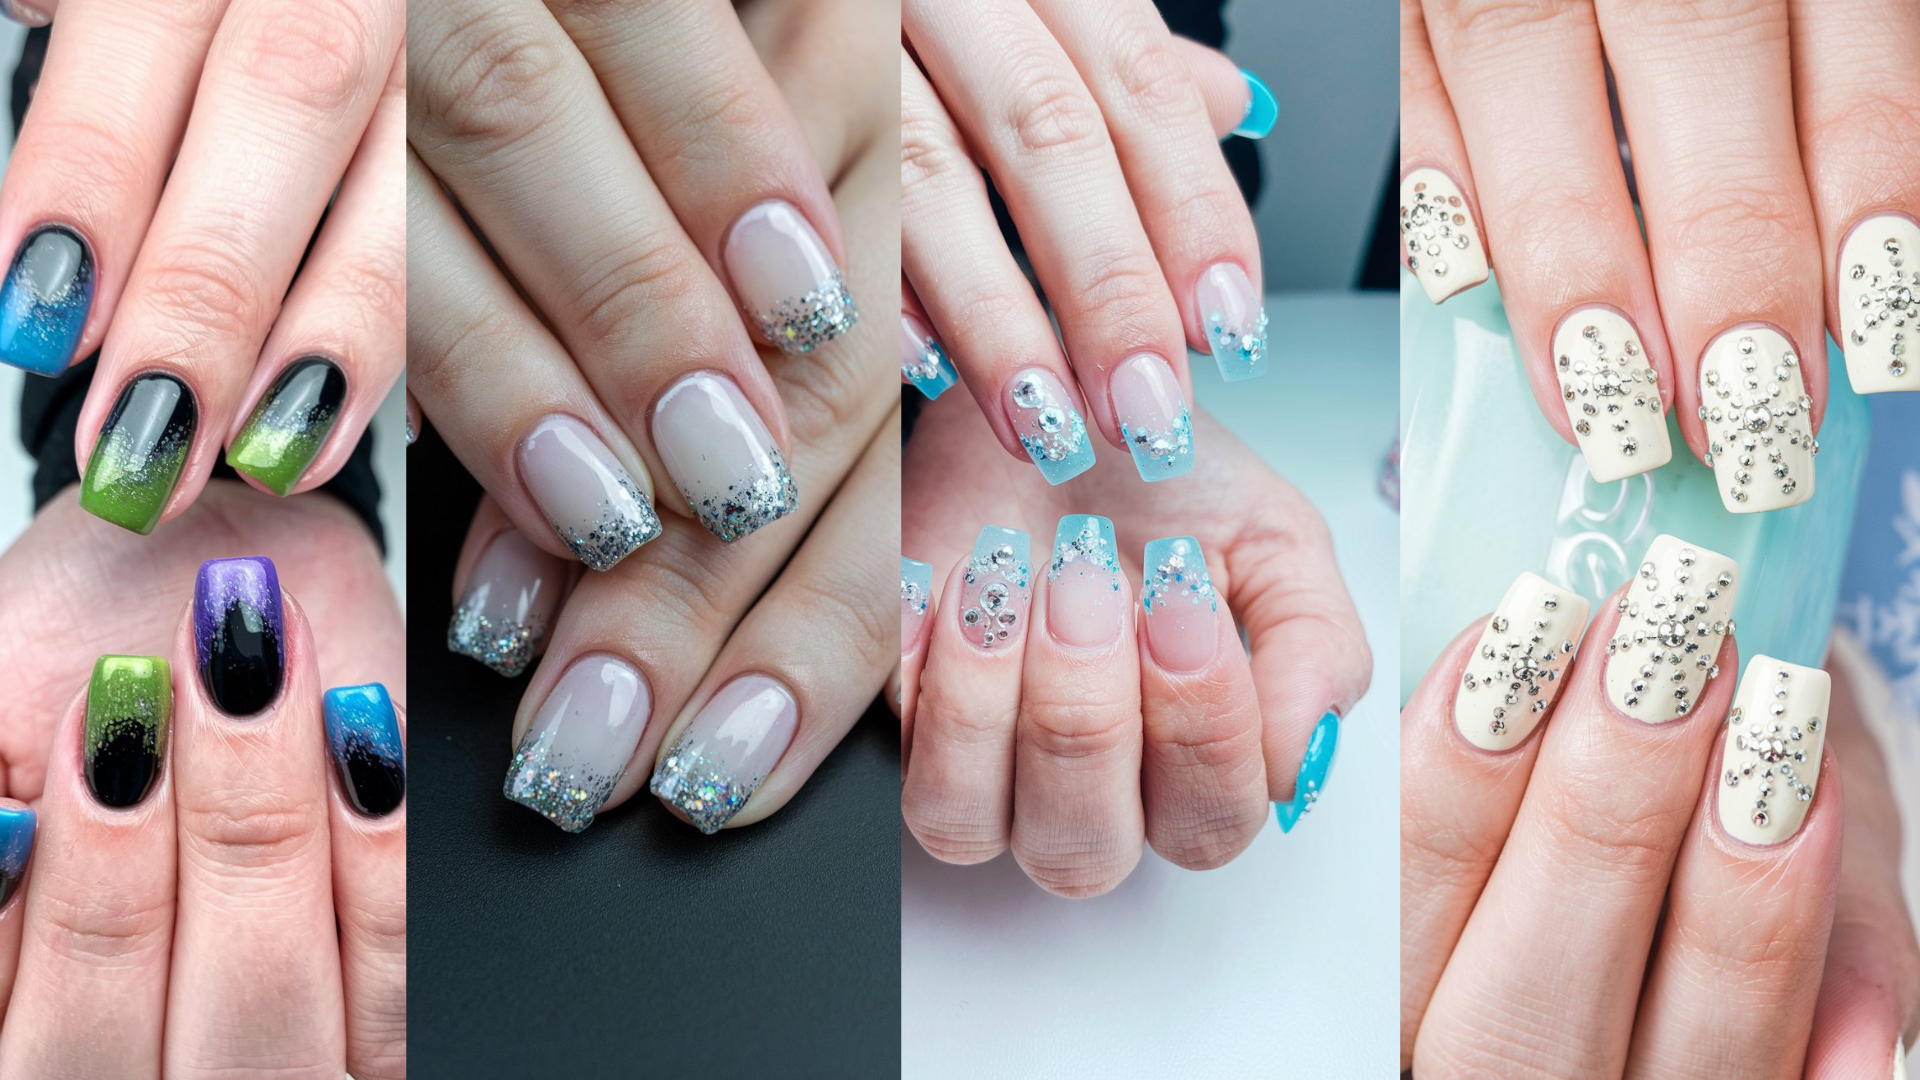
7. Glitter Galore: Shimmer Like the Stars
Glitter is back, bigger and better than ever! From subtle sparkles to full-on glitter bombs, this trend lets you shine like the dazzling gem you are.
Engaging Description: Imagine twirling under twinkling fairy lights at a garden party. Your nails should shimmer just as brightly.
How-To Steps:
- Apply a base coat to protect your nails.
- Choose a glitter polish or mix loose glitter with gel glue for customization.
- Layer carefully to avoid clumps.
- Seal with a thick layer of topcoat to prevent chipping.
Relatable Example: Last summer, I went all-out with a galaxy-inspired manicure featuring holographic glitter. It was perfect for festivals and late-night dances!
8. Nature-Inspired Nails: Bring the Outdoors In
This eco-friendly trend celebrates the beauty of nature with earthy tones, leaf motifs, and stone-like textures. Perfect for eco-conscious creatives who love connecting with the world around them.
Visualize This: Sitting by a serene lake, watching leaves drift gently onto the water. Capture that peaceful essence on your fingertips.
Instructions:
- Start with muted shades like sage green, terracotta, or taupe.
- Use a sponge or stippling brush to blend colors for a textured effect.
- Add delicate leaf designs using fine brushes or decals.
- Finish with a matte topcoat for a natural look.
Pro Tip: If you’re intimidated by freehand art, use pre-made stickers or stamps to achieve professional results.
9. Retro Revival: Channeling Vintage Vibes
Step into the past with retro-inspired designs that pay homage to decades gone by. Think polka dots, cat-eye shapes, and bold geometric patterns.
Engage Your Imagination: Picture yourself dancing in a 1960s mod dress or sipping coffee in a 1970s diner. These nails will transport you there.
Steps to Follow:
- Select a classic base color (black, white, navy).
- Create retro patterns using dotting tools, angled brushes, or stencils.
- Experiment with half-moons, chevrons, or zigzags.
- Seal with a high-gloss topcoat for vintage flair.
Fun Fact: Did you know that the iconic French manicure originated in the ’70s? Adding a retro twist to it feels like paying homage to history!
10. Nail Art Masterpieces: Get Creative
Finally, let’s talk about unleashing your inner artist. Custom nail art allows you to express your unique personality through intricate designs, mixed media, and bold creativity.
Picture This: Standing before a canvas, brush in hand, ready to bring your vision to life. Treat your nails as miniature masterpieces.
Guidance for Beginners:
- Start with simple shapes and patterns (stars, hearts, moons).
- Gradually build confidence with more complex designs (landscapes, portraits, abstract art).
- Use nail art pens, brushes, or stencils to refine your work.
- Practice makes perfect—don’t be afraid to experiment!
Encouraging Words: Remember, mistakes are part of the process. Even if something doesn’t turn out exactly as planned, it’s still uniquely you .
11. Ombre Dreams: Gradient Goodness
Ombre nails have become a timeless favorite because they’re versatile, chic, and surprisingly easy to create at home. This gradient effect is perfect for blending spring hues seamlessly.
Picture This: Watching the sunrise paint the sky in soft pinks, oranges, and purples. Your nails should mimic that breathtaking transition.
Step-by-Step Guide:
- Apply a base coat to protect your nails.
- Choose two or three complementary shades (e.g., peach → coral → orange).
- Dip a sponge into each color, layering them lightly onto your nails.
- Blend the colors together by gently dabbing until smooth.
- Finish with a glossy topcoat to lock in the look.
Personal Tip: For an extra polished finish, use a stencil to control where the colors blend. It’s like magic!
12. Negative Space Nails: Less Can Be More
Negative space designs leave parts of the nail unpainted, creating sleek, modern patterns. Think geometric shapes, abstract art, or playful cutouts.
Engaging Description: Imagine walking into a minimalist art gallery where simplicity reigns supreme. These nails capture that same elegance.
How-To Steps:
- Paint your nails with a solid base color.
- Use tape, stencils, or freehand techniques to block out areas you want to remain bare.
- Carefully paint around the blocked sections to create sharp edges.
- Remove the tape/stencil and apply a final topcoat.
Relatable Example: Last year, I tried negative space triangles on my ring fingers, and it was such a hit! Everyone wanted to know how I did it.
13. Textured Treats: Add Dimension
Texture adds depth and interest to your nails, making them stand out from flat designs. From matte finishes to raised patterns, there’s no limit to what you can achieve.
Visualize This: Running your fingers over a textured wall, feeling every bump and groove. Now imagine that tactile experience on your fingertips.
Instructions:
- Start with a smooth base coat.
- Experiment with textured polishes, sandpaper files, or embossing tools to create ridges, bumps, or grooves.
- Highlight textures with contrasting colors or metallic accents.
- Seal everything with a durable topcoat.
Pro Tip: If you’re new to textures, begin with something simple, like a matte polish paired with a glossy accent finger.
14. Mixed Media Magic: Combine Techniques
Why stick to one style when you can combine several? Mixing techniques allows you to create truly unique designs that reflect your personality.
Engage Your Imagination: Picture yourself as a chef in a kitchen, combining flavors to craft the ultimate dish. Your nails are your culinary masterpiece.
Steps to Follow:
- Decide which trends resonate most with you (e.g., ombre + glitter, floral + stripes).
- Plan your design on paper before applying it to your nails.
- Layer different elements carefully, ensuring they complement each other.
- Finish with a protective topcoat to tie everything together.
Fun Fact: My go-to mixed media look involves painting half of my nails with a pastel ombre and adding tiny gold stars to the other half. People always ask if I got it professionally done!
15. DIY Manicure Tips: Save Time and Money
Not everyone has time for salon visits, but that doesn’t mean you can’t rock gorgeous nails at home. With these quick tips, you’ll master DIY manicures like a pro.
Step-by-Step Guidance:
- Prep your nails: Trim, file, and buff to create a smooth surface.
- Apply a base coat to prevent staining and enhance longevity.
- Work in thin layers, allowing each coat to dry completely.
- Clean up any mistakes with a cotton swab dipped in nail polish remover.
- Seal your design with a high-quality topcoat.
Encouraging Words: Don’t worry if your first attempt isn’t perfect—practice makes progress. Plus, doing your own nails saves money and gives you full creative control.
Conclusion
And there you have it—20 inspiring ideas to elevate your March nails for spring 2025! Whether you choose soft pastels, vibrant florals, or daring statement pieces, remember that your nails are a reflection of you. So take risks, express yourself, and most importantly, have fun with it.
Now, what are you waiting for? Grab your favorite polish and get started! Share your creations with friends or tag me online—I’d love to see how you bring these ideas to life. Until next time, keep shining, stay creative, and don’t forget to enjoy every moment of this beautiful season.
Xoxo,
Your Nail Whisperer