This website contains affiliate links. Some products were gifted for testing. Content may include AI assistance. Images are illustrative, not official Amazon images, and may differ from actual products. As an Amazon Associate, I earn from qualifying purchases.
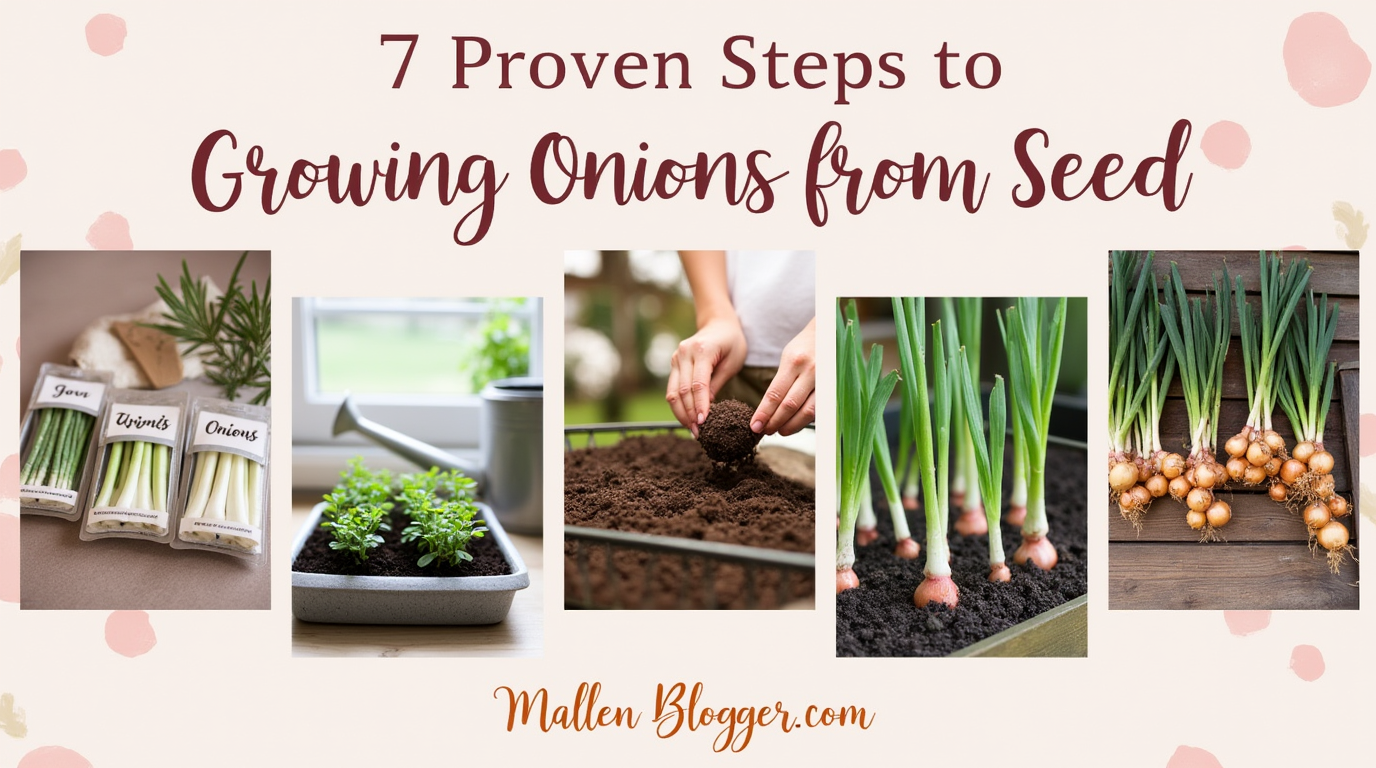
If you’ve ever dreamed of growing onions from seed, let me tell you—it’s easier than you think! 🧅✨ I used to believe onions were one of those “expert gardener only” crops, but after a few trial-and-error moments (and a LOT of onion tears—literally!), I finally nailed a foolproof way to grow them from seed. And guess what? You can, too!
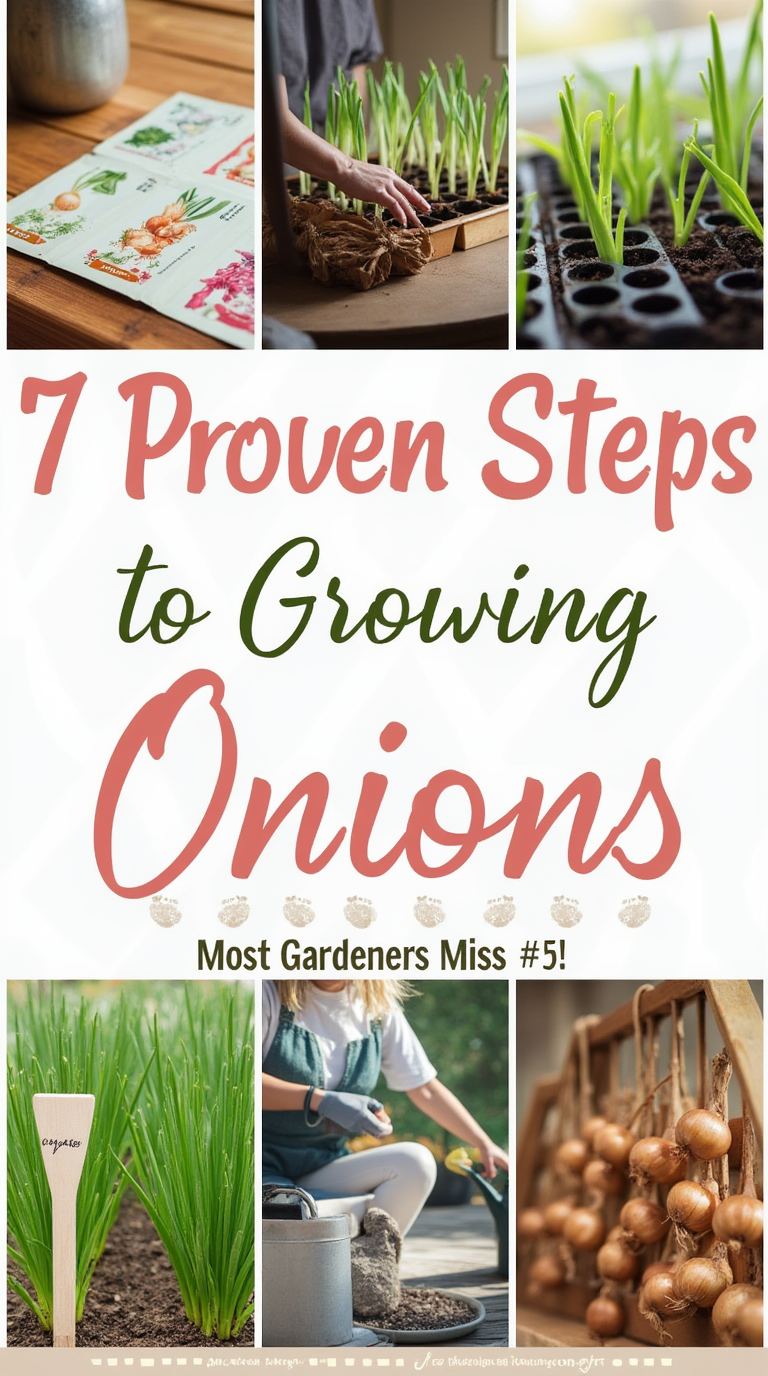
So grab a cup of coffee (or tea 🍵), and let’s walk through 7 easy steps to growing onions from seed—step #5 is the one most people miss, but it makes all the difference!
1. Choose the Right Onion Seeds for Your Climate
Not all onions are created equal, my friend! Some thrive in chilly weather, while others prefer a warm, sunny hug.
Picture this: You’re standing in a cozy garden center, seed packets in hand. Rows of vibrant labels in green, yellow, and red hues show varieties like “Walla Walla” (sweet and mild) and “Red Burgundy” (deep purple and packed with flavor). The air smells faintly of fresh soil and possibility.
🔹 Short-day onions love warmer climates (zones 7-10). Think sweet onions like Texas 1015.
🔹 Long-day onions prefer cooler zones (4-6). Yellow Sweet Spanish is a great pick!
🔹 Day-neutral onions? Perfect if you’re somewhere in between.
👉 Tip: Check your USDA planting zone before picking your seeds!
2. Start Your Onion Seeds Indoors (Timing is Everything!)
Here’s a gardening truth bomb: onions take their sweet time to grow, so starting them indoors 10-12 weeks before your last frost gives them a head start.
Picture this: A sunny windowsill in your kitchen, tiny trays filled with dark, rich soil. Delicate, thread-like green shoots poke through, reaching for the light. You mist them gently with a spray bottle, excited for the garden-to-table goodness ahead.
🔹 Fill seed trays with light, well-draining seed-starting mix.
🔹 Sprinkle onion seeds lightly and barely cover them with soil.
🔹 Keep them moist but not soggy (hello, tiny watering can!).
🔹 Warmth is key—set trays near a sunny window or use a grow light.
👉 Tip: If your house is chilly, a heat mat under the tray speeds up germination!
3. Harden Off Your Seedlings Before Transplanting
This step is like onion boot camp—gradually toughening them up before they face the great outdoors!
Picture this: Your onion seedlings, now a few inches tall, swaying gently in the breeze. They’re sitting outside on your porch, adjusting to the real world, like teenagers before their first big job interview.
🔹 Start by placing them outside for a few hours a day in a shaded area.
🔹 Increase their outdoor time gradually over a week, moving them into more sun each day.
🔹 Bring them inside at night if it’s still chilly.
👉 Tip: This prevents “shock”—a common mistake that can stunt their growth!
4. Prep Your Garden Bed Like a Pro
Onions are picky about their soil—they like it light, loose, and full of nutrients. Hard-packed dirt? No thanks!
Picture this: A raised garden bed filled with fluffy, rich soil. You run your fingers through it, feeling the perfect mix of compost, sand, and organic goodness. Earthworms wiggle their approval.
🔹 Loosen the soil to at least 6 inches deep (onion roots don’t dig deep).
🔹 Mix in compost or aged manure for nutrients.
🔹 Avoid heavy clay soil—onions hate soggy feet!
👉 Tip: A soil pH between 6.0 – 6.8 is ideal—test your soil with a cheap kit!
5. Space Them Properly (Most People Get This Wrong!)
Here’s where most gardeners slip up! Onions need space to grow—cramped bulbs equal tiny onions.
Picture this: A neat, well-organized row of baby onion plants, each standing tall and proud. The sun casts a golden glow over your garden, and you can already imagine plucking juicy, full-sized onions in a few months.
🔹 Plant them 4-6 inches apart to give each bulb room to grow.
🔹 If growing in rows, keep them 12 inches apart.
🔹 Gently firm the soil around each seedling—but don’t bury them too deep!
👉 Tip: Want green onions too? Plant extras close together and snip the young ones for salads!
6. Water Wisely (But Not Too Much!)
Onions love consistent moisture—but they hate soggy soil. There’s a fine balance!
Picture this: Early morning in your garden, a light mist covering the leaves. You water gently at the base, the droplets sinking effortlessly into the soil, feeding the roots below. The fresh scent of earth fills the air.
🔹 Water deeply but only when the soil feels dry (about 1 inch per week).
🔹 Avoid overhead watering—wet leaves invite disease!
🔹 Use mulch to retain moisture and suppress weeds.
👉 Tip: Stop watering once the tops begin to flop over—this means they’re almost ready to harvest!
7. Harvest & Cure for Long-Lasting Onions
The moment you’ve been waiting for—harvest time! But hold on, there’s one last trick to make them last for months.
Picture this: A bundle of golden onions hanging in a shady, breezy shed. Their papery skins rustle as they dry, sealing in their flavor. The scent of fresh, homegrown onions lingers in the air.
🔹 Harvest when the tops fall over naturally and turn yellow.
🔹 Pull them up gently and let them cure for 2-3 weeks in a warm, airy spot.
🔹 Store in a cool, dry place for months of deliciousness!
👉 Tip: Braid soft-neck onions for a rustic, farmhouse-style storage look!
Final Thoughts: Ready to Grow Your Own Onions?
Growing onions from seed is so rewarding—and once you get the hang of it, you’ll never go back to store-bought! Whether you’re dreaming of sweet, mild onions for caramelized dishes or zesty reds for fresh salads, these 7 steps will set you up for onion-growing success. 🌿
🌟 Save this for later so you can follow these steps when planting season arrives! And if you’re feeling inspired, tap to read more gardening tips to make your backyard bloom! 🌱💚
What do you think? 😊 Let me know if you’d like any tweaks or additional details!