This website contains affiliate links. Some products were gifted for testing. Content may include AI assistance. Images are illustrative, not official Amazon images, and may differ from actual products. As an Amazon Associate, I earn from qualifying purchases.
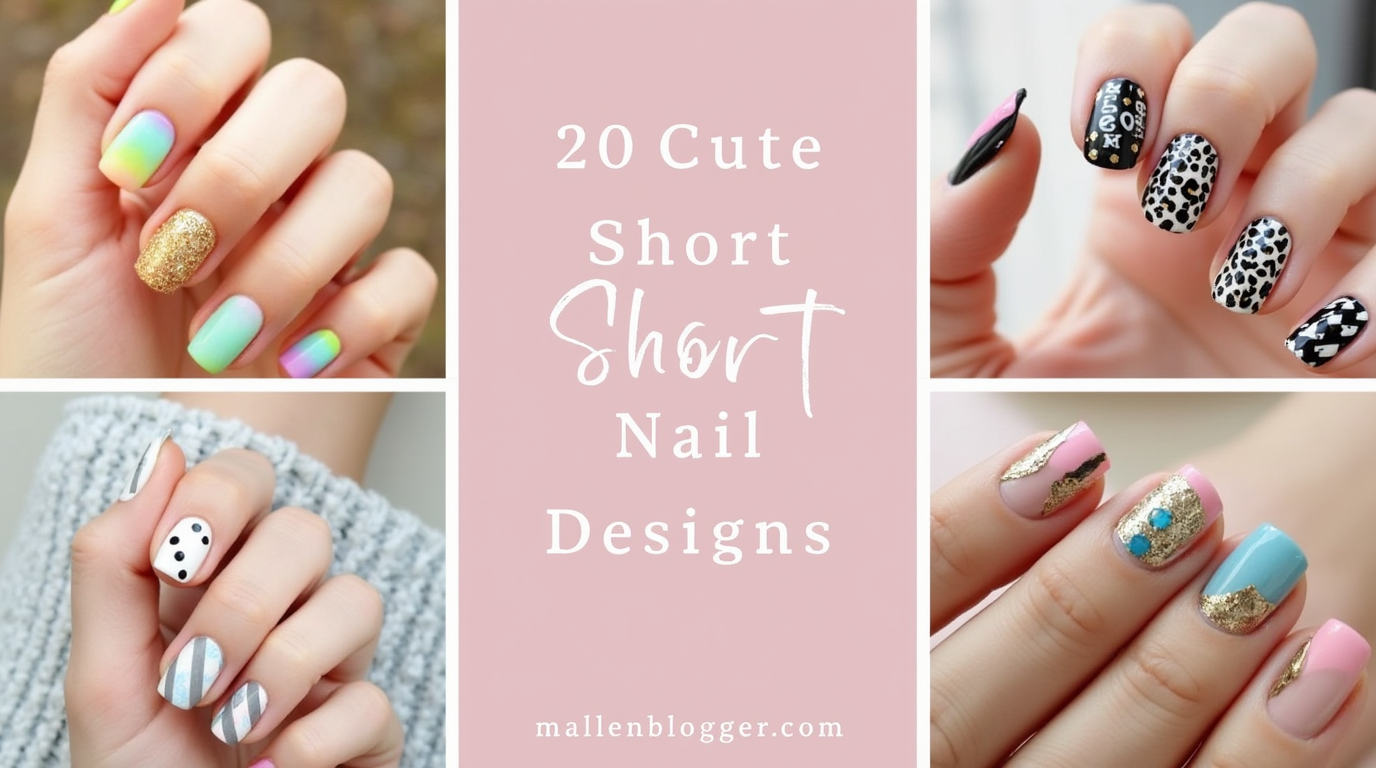
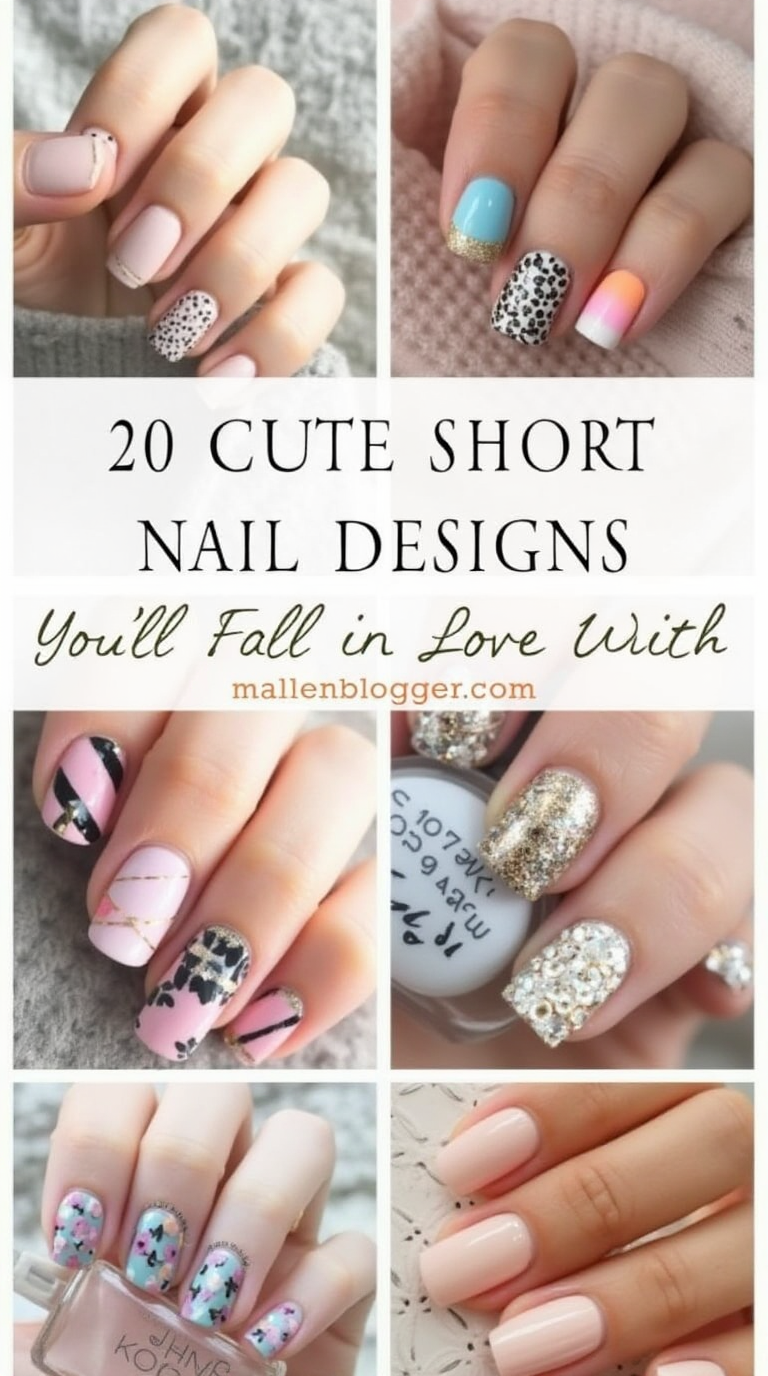
Alright, bestie! Let’s talk nails. I’ve been absolutely OBSESSED with short nail designs lately. They’re low-maintenance, totally chic, and super practical (hello, opening soda cans without breaking a nail!). Plus, they’re perfect for showing off creative designs without the worry of snagging or chipping. If you’re ready to level up your nail game, grab your coffee, sit back, and let’s dive into 35 cute short nail ideas you’re going to fall head over heels for.
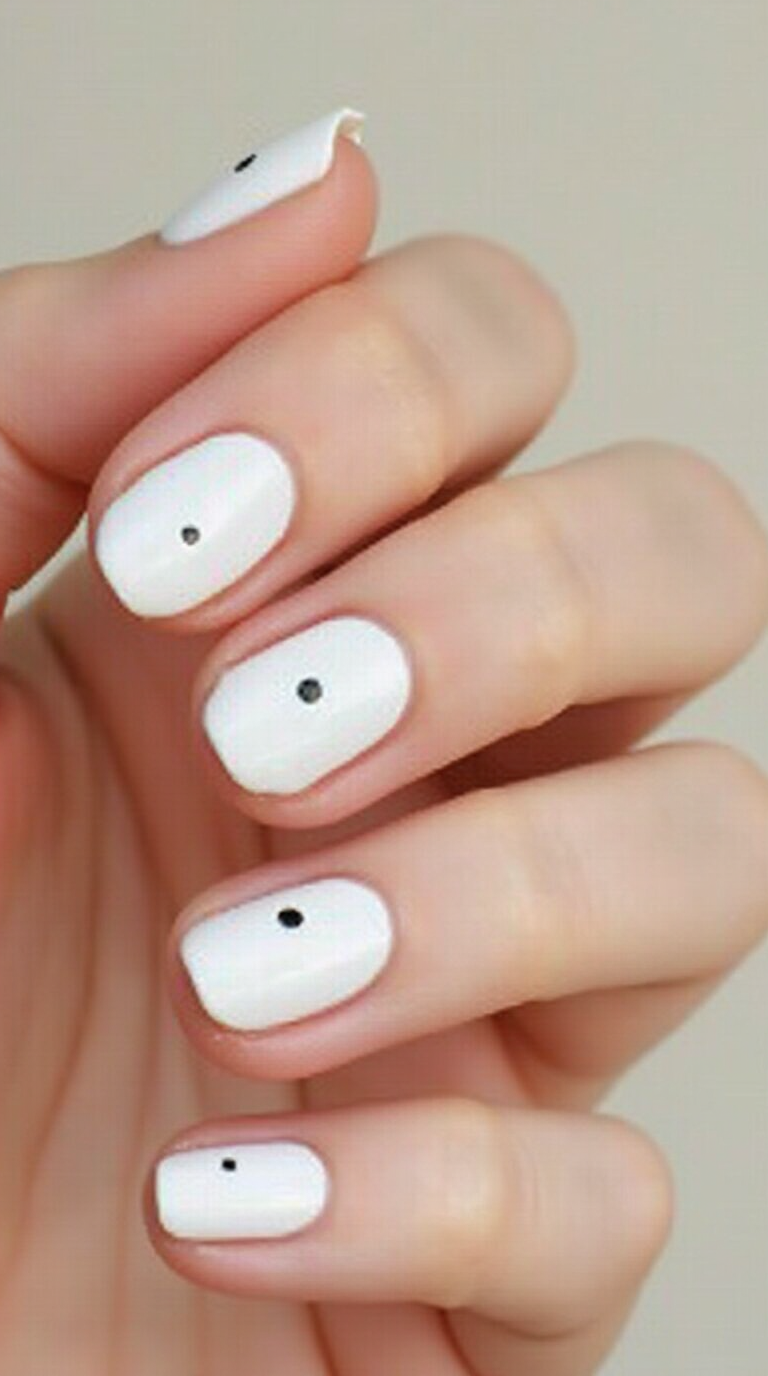
1. Minimalist Dot Delight
Minimalism is the vibe, babe! A simple dot at the center of each nail is subtle yet stylish.
Picture this: Crisp white nails with a single black dot on each finger. It’s like having a tiny work of art on your hands. The look is clean and chic, perfect for a coffee date or even the office.
How to do it:
- Apply a clear or nude base coat.
- Use a dotting tool or toothpick dipped in black polish.
- Place one dot in the center of each nail.
- Seal it with a glossy top coat.
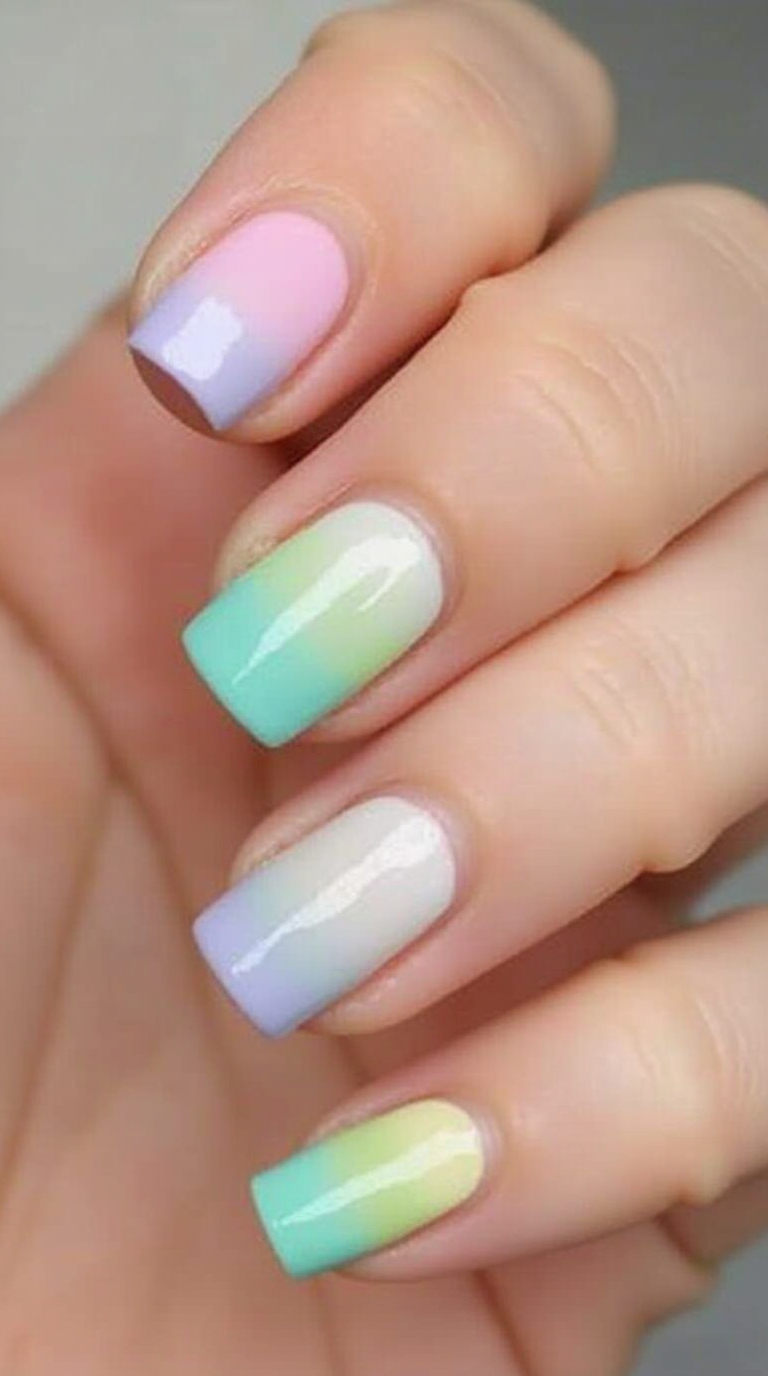
2. Pastel Rainbow Dreams
Who says you can’t wear every color? This design screams fun without being overwhelming.
Picture this: Each nail painted in a soft pastel shade—think baby pink, lilac, mint green, and sky blue—giving you an adorable rainbow effect. Perfect for springtime brunches!
How to do it:
- Choose your favorite pastel shades.
- Paint each nail a different color.
- Finish with a glossy top coat for that fresh, polished look.
3. French Tips with a Twist
Classic French tips just got an upgrade, hun! Add a pop of color for a modern flair.
Picture this: A clear or nude base with bright neon tips. Think hot pink, lime green, or electric blue. It’s fun, flirty, and oh-so-fresh.
How to do it:
- Start with a clear or nude base coat.
- Use a striping brush to paint thin neon lines at the tips.
- Let it dry, then seal with a top coat.
4. Dainty Florals
Channel your inner garden goddess with tiny floral accents.
Picture this: A nude or pale pink base with delicate white daisies painted on two accent nails. It’s soft, feminine, and perfect for daydreaming about spring.
How to do it:
- Paint your nails with a nude or pale pink base.
- Use a fine brush to create tiny flower petals in white polish.
- Add a yellow dot in the center of each flower.
- Top it off with a clear coat.
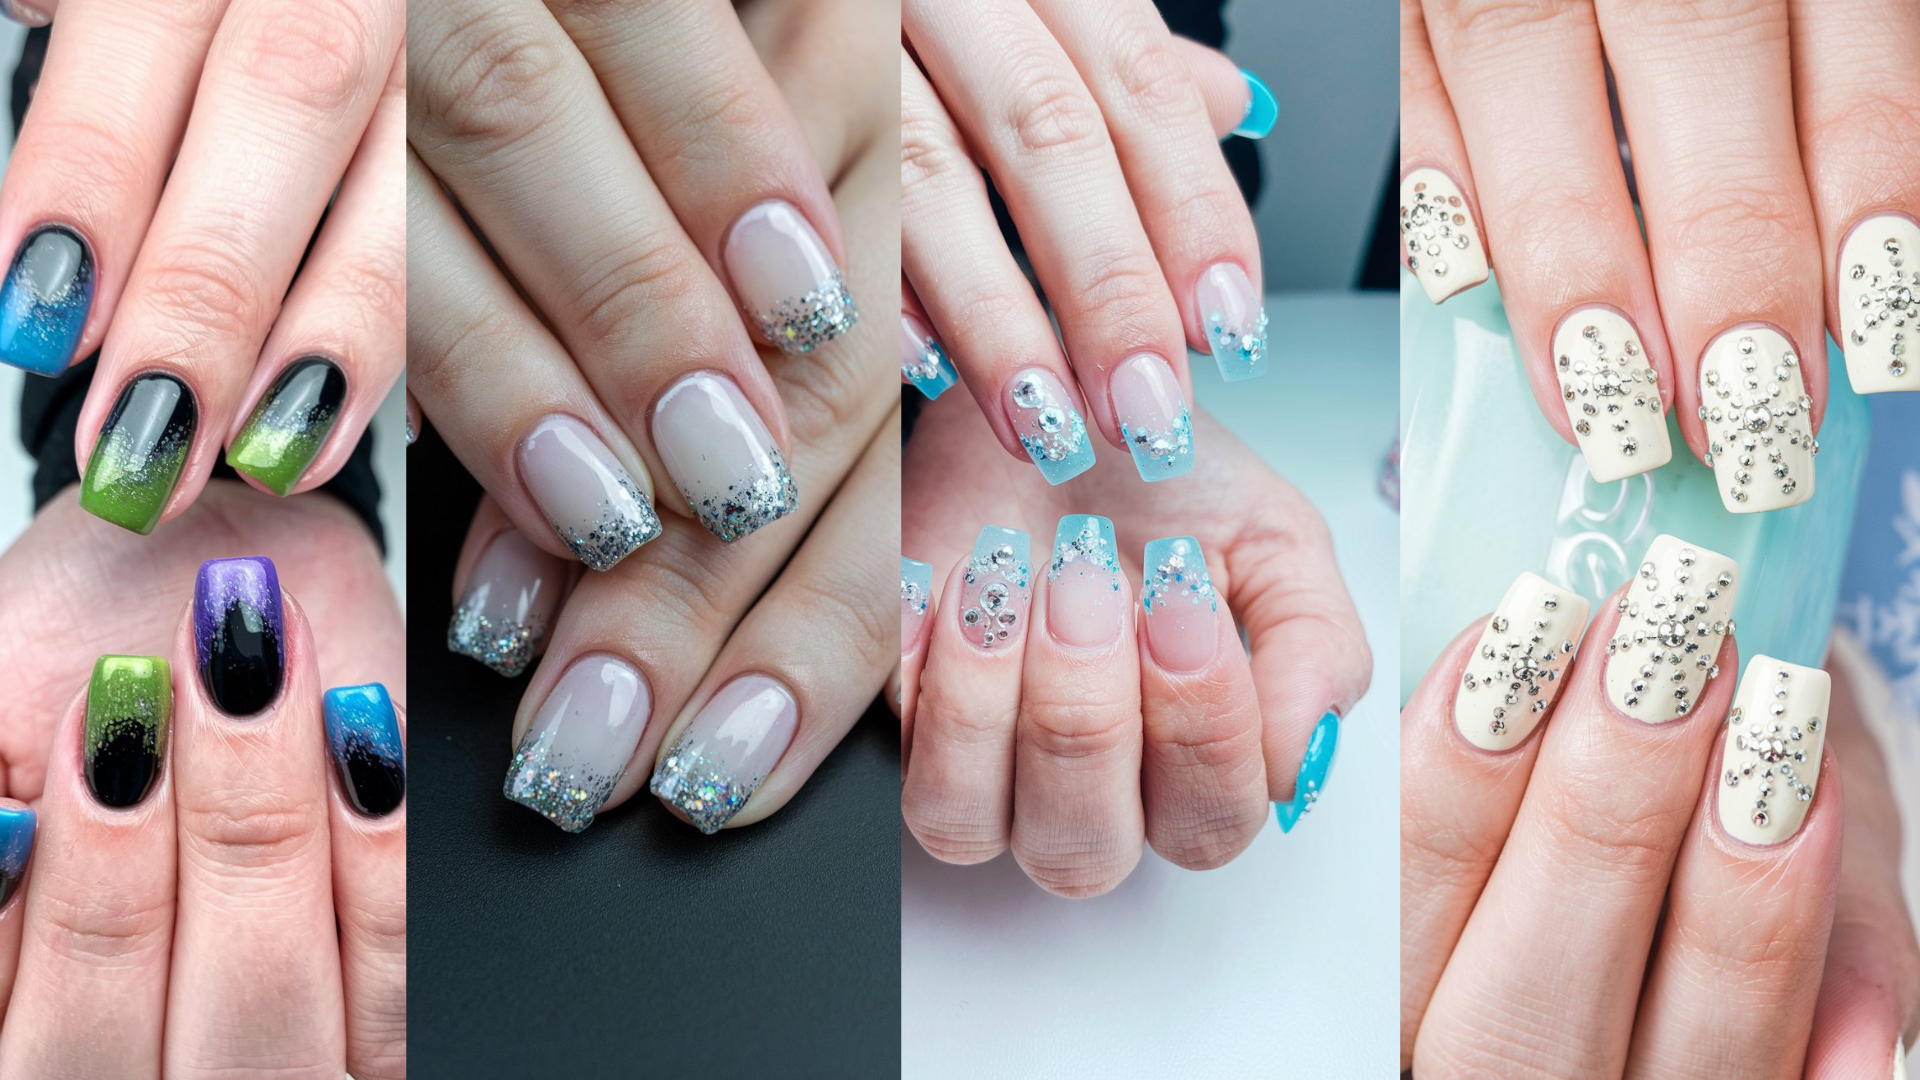
5. Glitter Gradient Magic
Because life is better with a little sparkle, right?
Picture this: A nude base with glitter fading from the tips toward the middle. It’s subtle but still brings the glam.
How to do it:
- Start with a nude base coat.
- Dab glitter polish onto a makeup sponge.
- Gently press the sponge onto the tips of your nails, blending the glitter downward.
- Seal with a glossy top coat.
6. Matte and Minimal
Matte nails are effortlessly chic, and paired with simple designs, they’re a total win.
Picture this: Soft matte gray nails with a single gold stripe running diagonally across two accent nails. It’s understated elegance at its finest.
How to do it:
- Paint your nails with a matte gray polish.
- Use nail tape to create a diagonal stripe and paint over it with gold polish.
- Peel off the tape and let it dry.
- Skip the glossy top coat to keep the matte effect.
7. Abstract Art
Feel like Picasso with this artsy design.
Picture this: Swirls of white, black, and gold on a beige base. Each nail is its own tiny masterpiece.
How to do it:
- Start with a beige base coat.
- Use a thin brush to paint swirls of black, white, and gold polish.
- Let the design dry and seal with a glossy top coat.
8. Polka Dot Party
Who doesn’t love a playful polka dot? It’s retro and adorable.
Picture this: A baby blue base with white polka dots scattered all over. It’s like a vintage dress for your nails.
How to do it:
- Paint your nails with a baby blue base.
- Use a dotting tool or toothpick to add white polka dots.
- Finish with a shiny top coat.
9. Animal Print Accents
Unleash your wild side with subtle animal prints.
Picture this: Nude nails with leopard print accents on just two fingers. It’s bold without being too much.
How to do it:
- Paint your nails with a nude base.
- Use a fine brush to create irregular black spots, adding gold or brown details inside each spot.
- Seal it with a top coat.
10. Ombre Elegance
Ombre isn’t just for hair, babe. It’s a stunning look for nails too.
Picture this: A soft pink that gradually fades into white. It’s dreamy, romantic, and oh-so-sophisticated.
How to do it:
- Apply a pink base coat.
- Use a makeup sponge to blend pink and white polishes for the gradient effect.
- Finish with a glossy top coat.
And there you have it—just the start of our journey through 35 adorable short nail designs! I’ll keep the ideas coming, but for now, tell me: which one are you trying first? Let’s create some nail magic together!
11. Checkerboard Chic
Add some retro vibes with a checkerboard design.
Picture this: A black and white checkerboard pattern that’s bold yet timeless. Perfect for those 90s-inspired outfits.
How to do it:
- Start with a white base coat.
- Use a fine brush or nail stencil to create black squares in a checkerboard pattern.
- Finish with a glossy top coat.
12. Starry Night
Let’s bring the galaxy to your fingertips, shall we?
Picture this: A dark blue base with tiny silver stars scattered across. It’s like gazing into a dreamy night sky.
How to do it:
- Paint your nails with a dark blue base.
- Use a dotting tool to add tiny white dots for stars.
- Add small silver star decals or paint star shapes with a fine brush.
- Seal with a glossy top coat.
13. Neon Geometrics
Bright and bold is the name of the game with this funky design.
Picture this: A nude base with neon triangles and lines creating an abstract geometric masterpiece.
How to do it:
- Start with a nude base coat.
- Use neon polishes and a striping brush to create random geometric shapes.
- Let it dry and seal with a glossy top coat.
14. Sweet Stripes
Simple stripes can make a big statement.
Picture this: A soft pink base with thin white and gold stripes running vertically down the nail. It’s elegant yet playful.
How to do it:
- Paint your nails with a soft pink base.
- Use a striping brush to add thin white and gold stripes.
- Finish with a shiny top coat.
15. Heart Accents
Perfect for Valentine’s Day or any day you’re feeling the love.
Picture this: A nude base with tiny red hearts on two accent nails. Sweet and romantic!
How to do it:
- Start with a nude base coat.
- Use a dotting tool to create two red dots, then drag them together to form a heart shape.
- Seal with a glossy top coat.
16. Glitter Stripes
Add a touch of glam with glittery stripes.
Picture this: A matte black base with thin silver glitter stripes running horizontally. It’s edgy and eye-catching.
How to do it:
- Paint your nails with a matte black base.
- Use nail tape to create horizontal lines and paint them with silver glitter polish.
- Peel off the tape and let it dry.
- Skip the glossy top coat to keep the matte effect.
17. Mermaid Scales
Feel like a magical mermaid with this shimmering design.
Picture this: Iridescent scales painted over a seafoam green base. It’s whimsical and fun.
How to do it:
- Start with a seafoam green base.
- Use a stencil or fine brush to paint scale patterns with iridescent polish.
- Finish with a glossy top coat for a shimmering effect.
18. Negative Space Chic
Minimalist yet striking, negative space designs are all the rage.
Picture this: A clear base with diagonal black stripes, leaving some of the natural nail exposed. It’s modern and trendy.
How to do it:
- Start with a clear base coat.
- Use nail tape to block off areas and paint diagonal black stripes.
- Peel off the tape and seal with a glossy top coat.
19. Foil Accents
Metallic foils add a touch of luxury to any design.
Picture this: A pale pink base with gold foil accents on two nails. It’s subtle yet glamorous.
How to do it:
- Paint your nails with a pale pink base.
- Apply nail foil adhesive to random areas and press gold foil onto it.
- Seal with a clear top coat.
20. Bold Color Blocks
Make a statement with vibrant blocks of color.
Picture this: A white base with bold blocks of orange, pink, and yellow on each nail. It’s artsy and fun.
How to do it:
- Start with a white base coat.
- Use a striping brush to paint bold blocks of color.
- Let it dry and finish with a glossy top coat.