This website contains affiliate links. Some products were gifted for testing. Content may include AI assistance. Images are illustrative, not official Amazon images, and may differ from actual products. As an Amazon Associate, I earn from qualifying purchases.
Hey there, garden enthusiasts!
Picture this: You’re sipping your morning coffee while gazing out at your backyard, dreaming of turning it into a beautiful, budget-friendly paradise that you’d love to spend all your free time in. Let’s make that dream a reality! Today, I’m bubbling with excitement to share [XX] fun and frugal garden ideas that will have your space looking lush without breaking the bank. Ready? Let’s dive in!
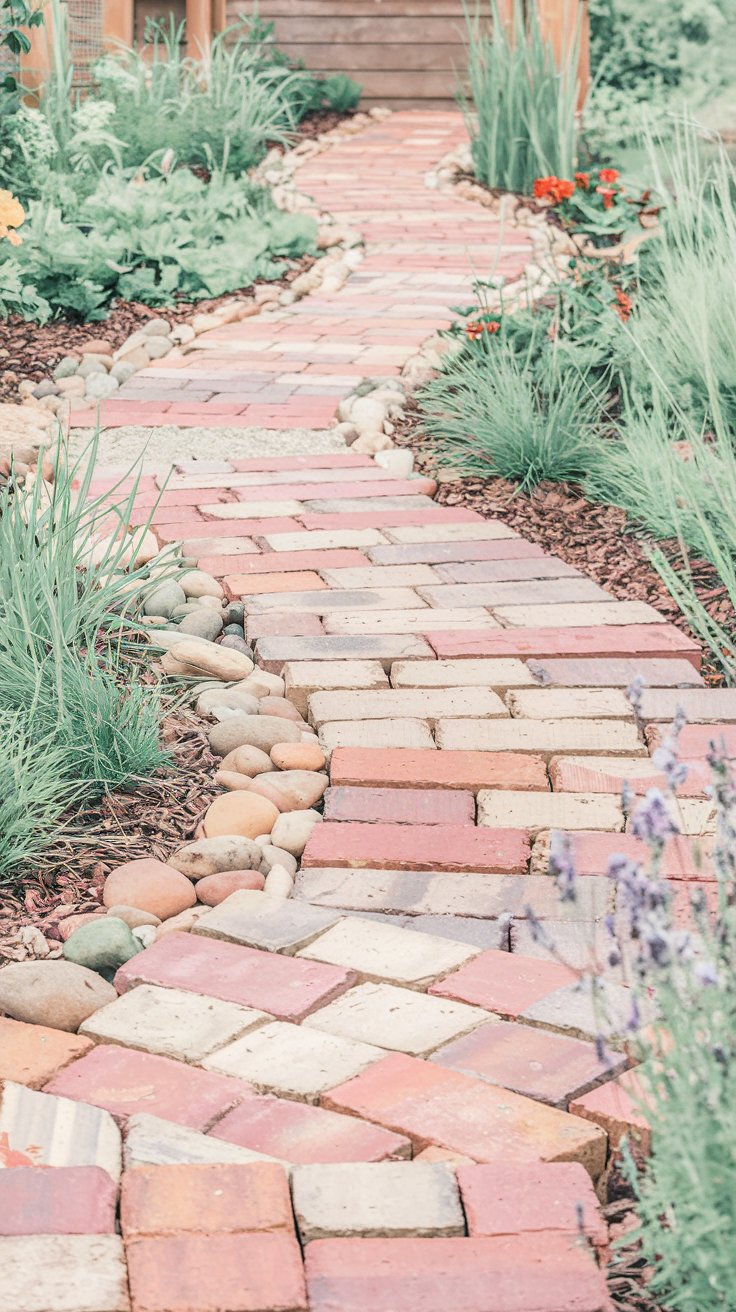
1. DIY Garden Pathway
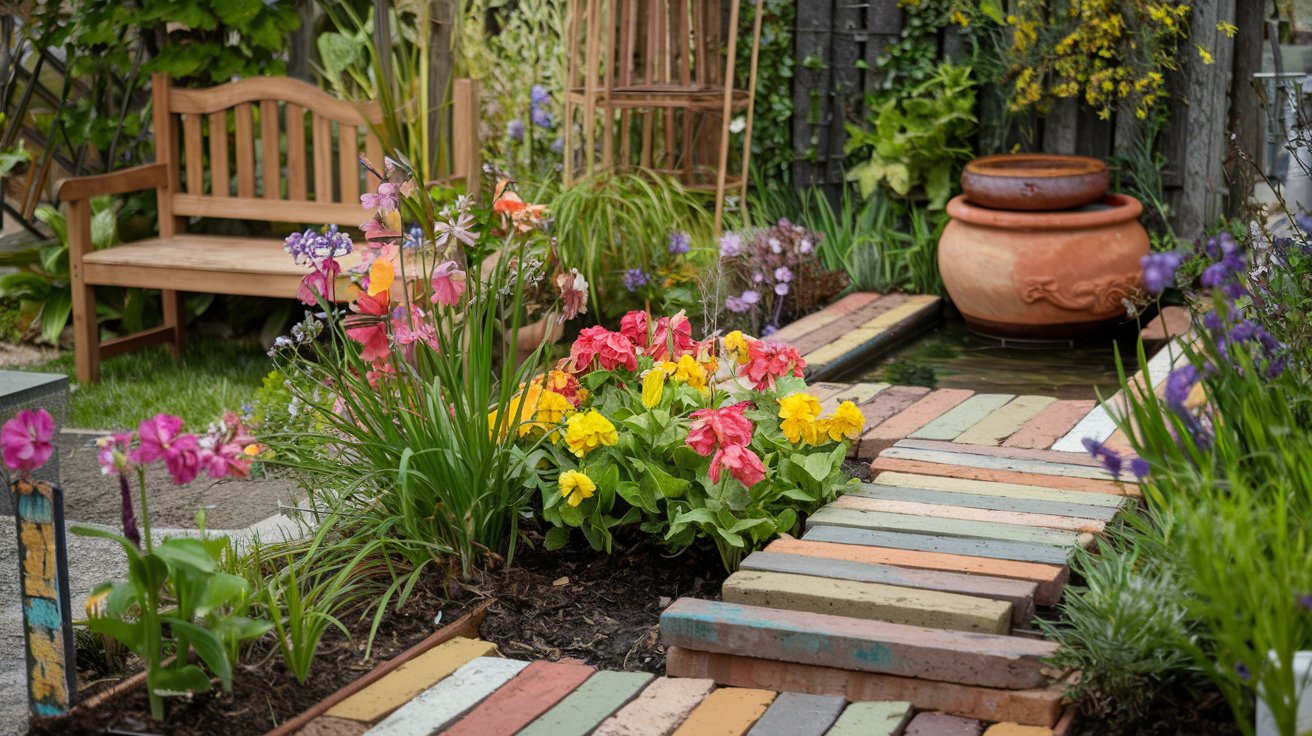
Picture this: Imagine a charming, meandering pathway lined with an eclectic mix of aged bricks and smooth river stones that lead you through the lush greenery of your garden. The hues range from deep earthy reds to cool grays, creating a stunning mosaic that contrasts beautifully with the surrounding vibrant greens of your flourishing plants.
- Step 1: Gather old bricks, stones, or even wood slices from local recycling centers or your own stash.
- Step 2: Lay them out to plan your path’s shape—curves add an enchanting feel!
- Step 3: Dig shallow trenches and place your materials, ensuring they’re level.
- Step 4: Fill gaps with gravel or sand to stabilize your new path.
Tip: Opt for irregular shapes for a rustic charm, and sprinkle some low-growing ground cover plants alongside for added beauty.
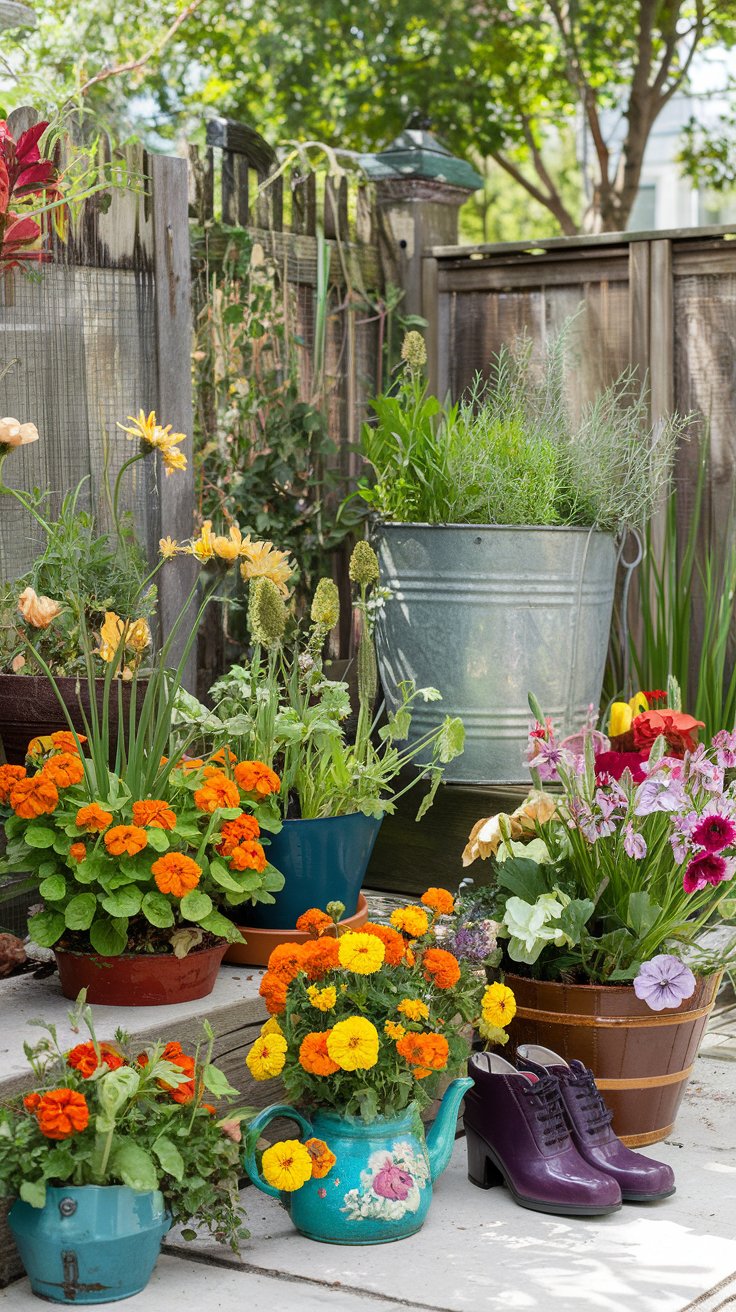
2. Upcycled Container Gardens
Picture this: A delightful assembly of vibrant containers, crafted from vintage teapots and whimsically painted buckets, adds bursts of color amidst the greens. These quirky vessels brim with cheerful marigolds and aromatic herbs, their bright yellows, and deep purples creating a vivid tapestry against the garden backdrop.
- Step 1: Hunt for old teapots, buckets, or even shoes at thrift stores or garage sales.
- Step 2: Drill drainage holes if your containers don’t have them.
- Step 3: Fill with a mix of potting soil and compost.
- Step 4: Plant your favorite flowers or herbs, and place them strategically around your garden.
Tip: Group containers in odd numbers and varying heights for a dynamic visual effect.
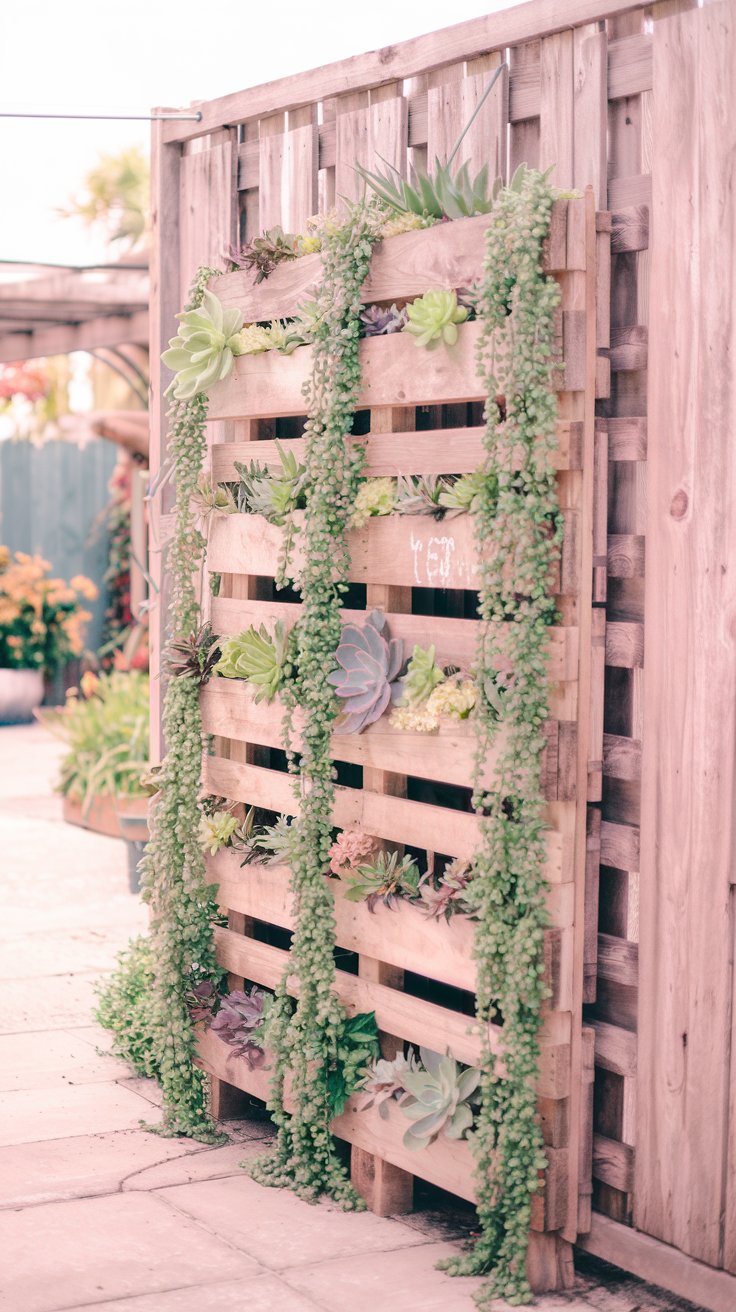
3. Pallet Planter Wall
Picture this: Against the backdrop of a weathered wooden fence, a vertical garden made from repurposed pallets showcases a cascade of greenery. Succulents and trailing vines spill from the shelves, their rich greens and soft blues painting a serene vertical oasis that captures the eye.
- Step 1: Find a pallet in good condition—often free at hardware stores.
- Step 2: Sand it down to prevent splinters, and add a coat of weather-resistant sealant.
- Step 3: Attach landscape fabric to the back and bottom.
- Step 4: Fill with soil and tuck in your choice of plants.
Tip: Choose trailing plants and create a waterfall effect with blooms cascading down.
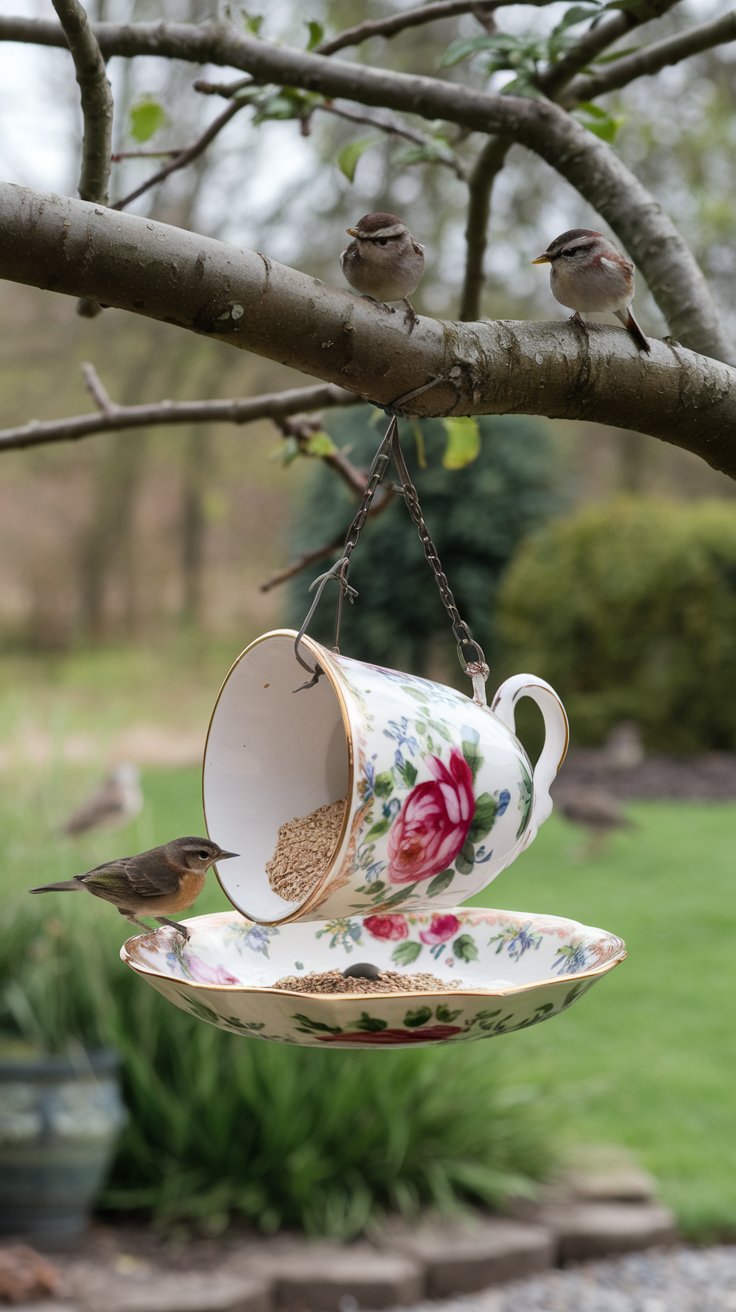
4. Homemade Bird Feeder
Picture this: Nestled among the branches of a sturdy tree is an enchanting bird feeder crafted from a delicate, floral-patterned teacup and saucer. Its vintage charm stands out amid the foliage as small birds flit in and out, bringing life and melody to your garden’s tranquil atmosphere.
- Step 1: Find an old teacup and saucer—perfect Sunday market finds!
- Step 2: Use strong glue to attach the cup to the saucer.
- Step 3: Hang it with twine, or attach it to a garden stake.
- Step 4: Fill with birdseed and wait for feathered visitors.
Tip: Place in a spot where you can easily watch the birds but out of strong winds.
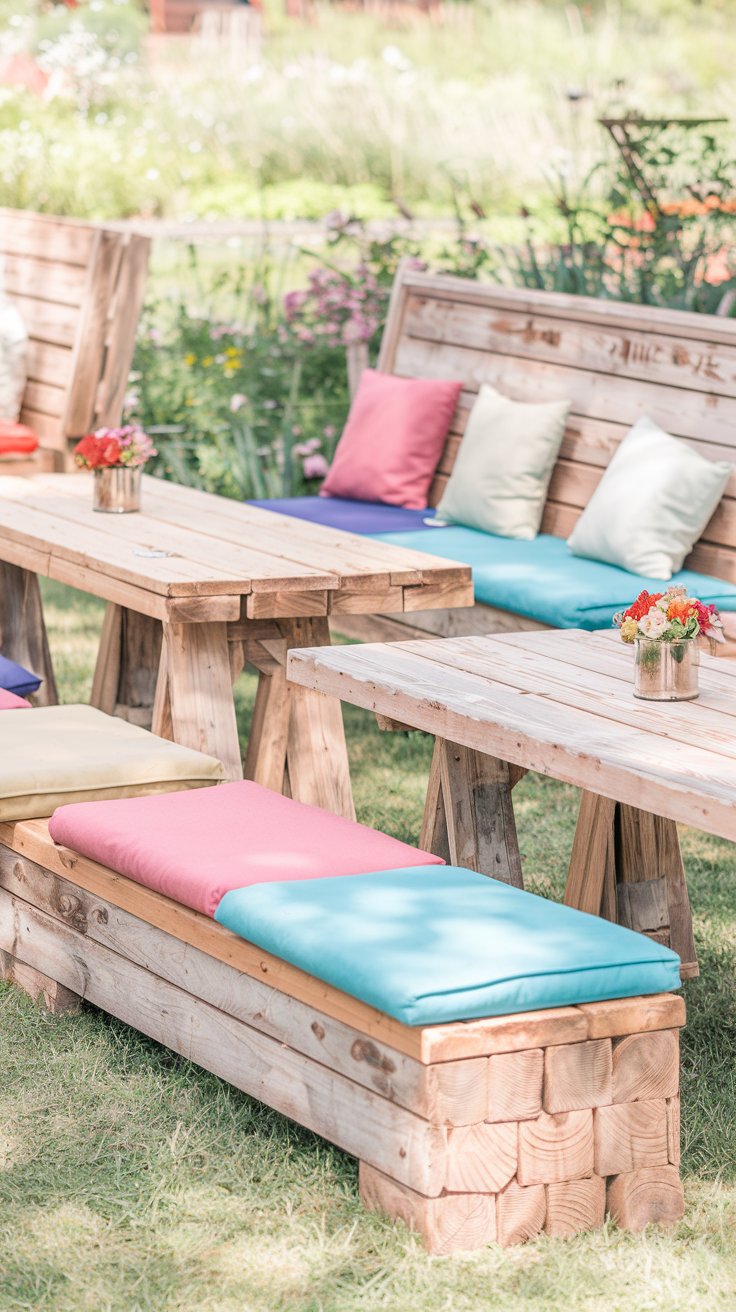
5. Rustic Garden Furniture
Picture this: Envision a cozy corner of your garden transformed by rustic wooden benches and tables crafted from reclaimed wood. The rich, natural hues of the wood add warmth and charm, inviting you to sit and enjoy a leisurely afternoon surrounded by nature’s beauty.
- Step 1: Source old wooden pallets or reclaimed timber from salvage yards or online.
- Step 2: Cut and sand the wood to remove any rough edges or splinters.
- Step 3: Assemble your furniture using simple joinery or robust screws.
- Step 4: Finish with a coat of weather-resistant varnish to enhance durability.
Tip: Decorate with colorful cushions and throws to add comfort and style.
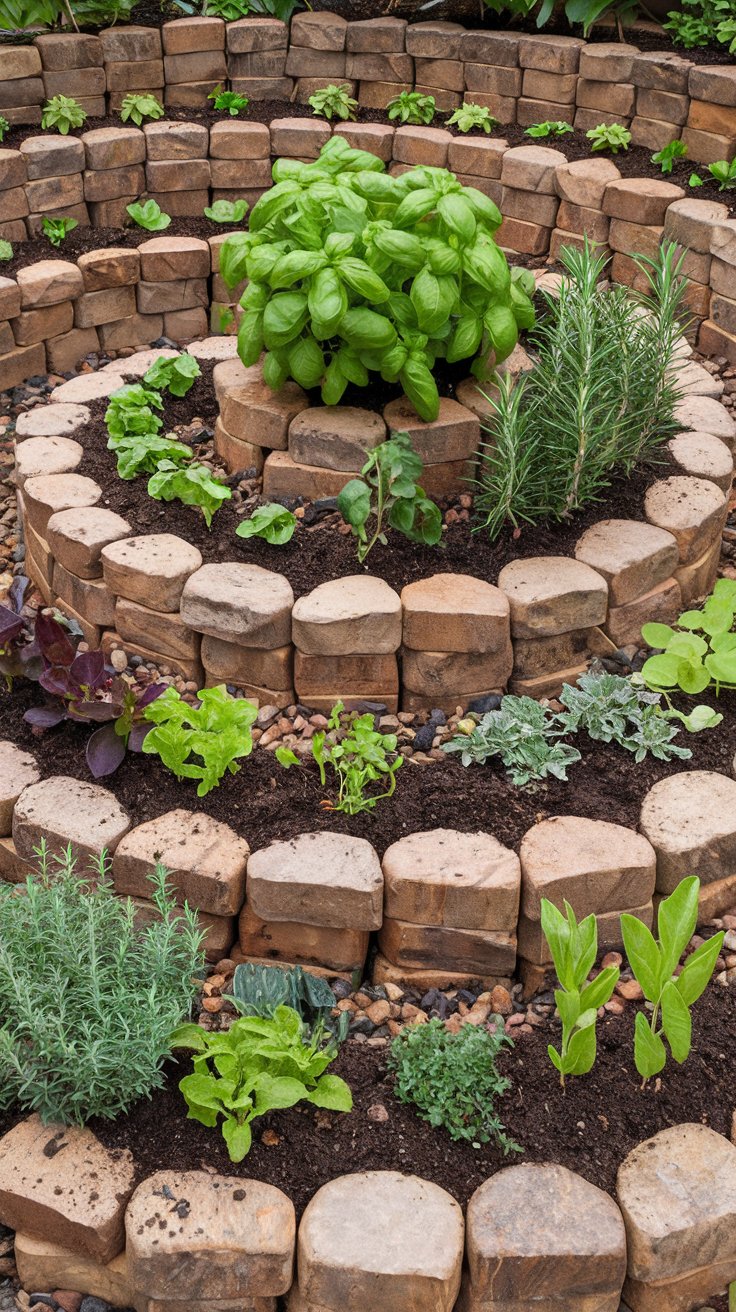
6. Herb Spiral
Picture this: A spiral-shaped herb garden emerges, its structure created from stones or bricks, each level bursting with aromatic herbs like basil, rosemary, and thyme. Different shades of green spiral upwards, promising fresh flavors just a step away from your kitchen.
- Step 1: Mark out a spiral shape in your desired garden spot.
- Step 2: Use stones or bricks to outline the spiral, building it higher towards the center.
- Step 3: Fill the structure with a soil and compost mix.
- Step 4: Plant your herbs, considering their sun and water needs.
Tip: Place sun-loving herbs at the top and shade-tolerant ones at the bottom.
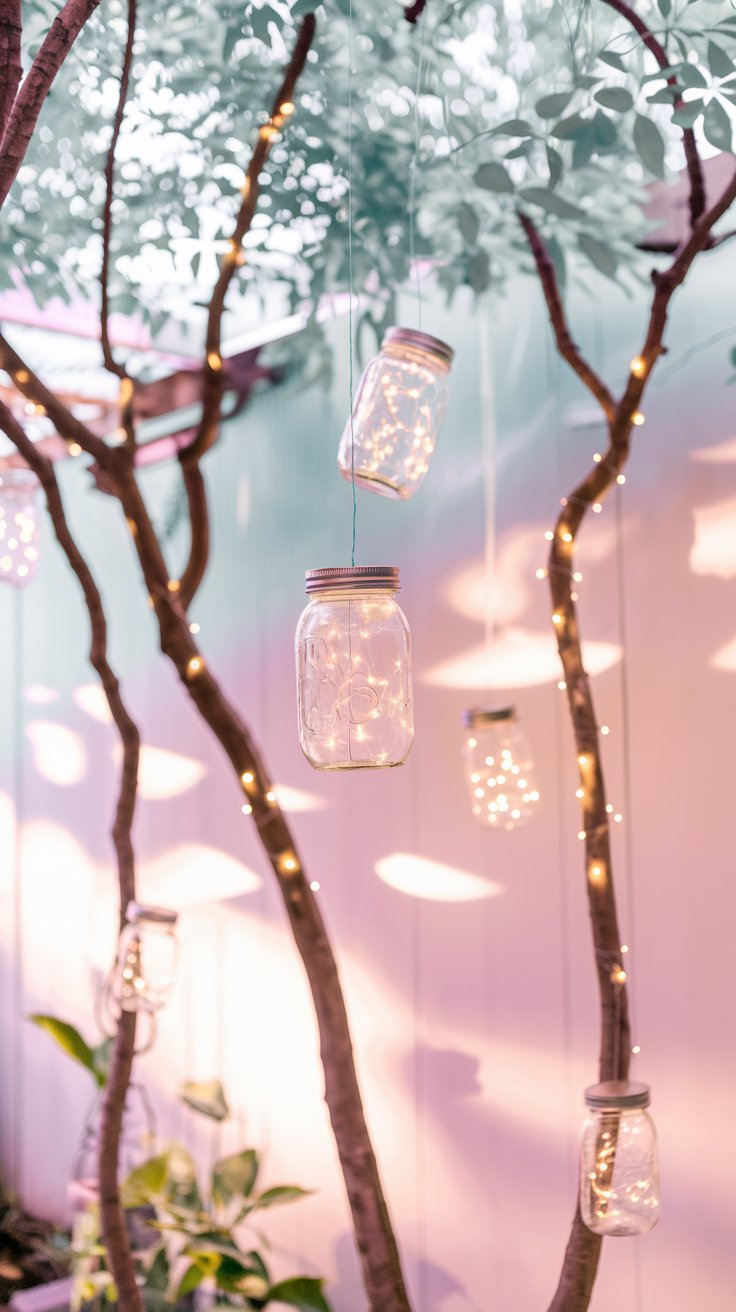
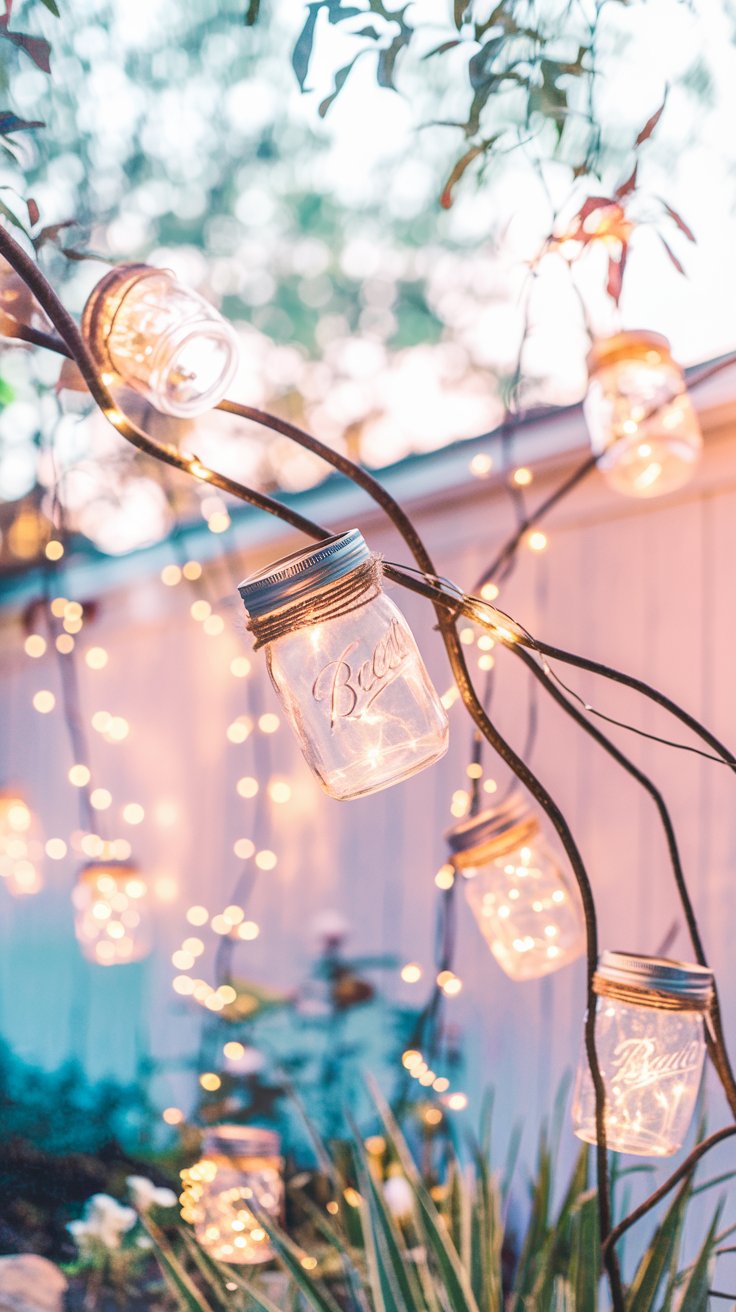
7. Garden Lighting with Mason Jars
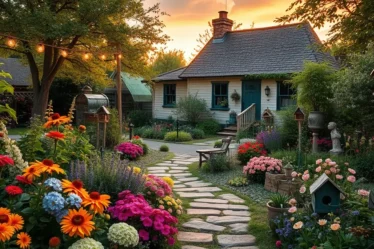
Picture this: As dusk falls, your garden softly glows with an ethereal light from fairy lights encased in mason jars, hung delicately from tree branches. The subtle illumination casts charming shadows, turning your garden into a magical evening retreat.
- Step 1: Gather mason jars and insert battery-operated fairy lights into each one.
- Step 2: Secure lids and attach twine or wire for hanging.
- Step 3: Hang the jars from trees, fences, or shepherd’s hooks around your garden.
- Step 4: Flip the switch for an instant transformation come nightfall.
Tip: Use different heights for a more dynamic and enchanting effect.
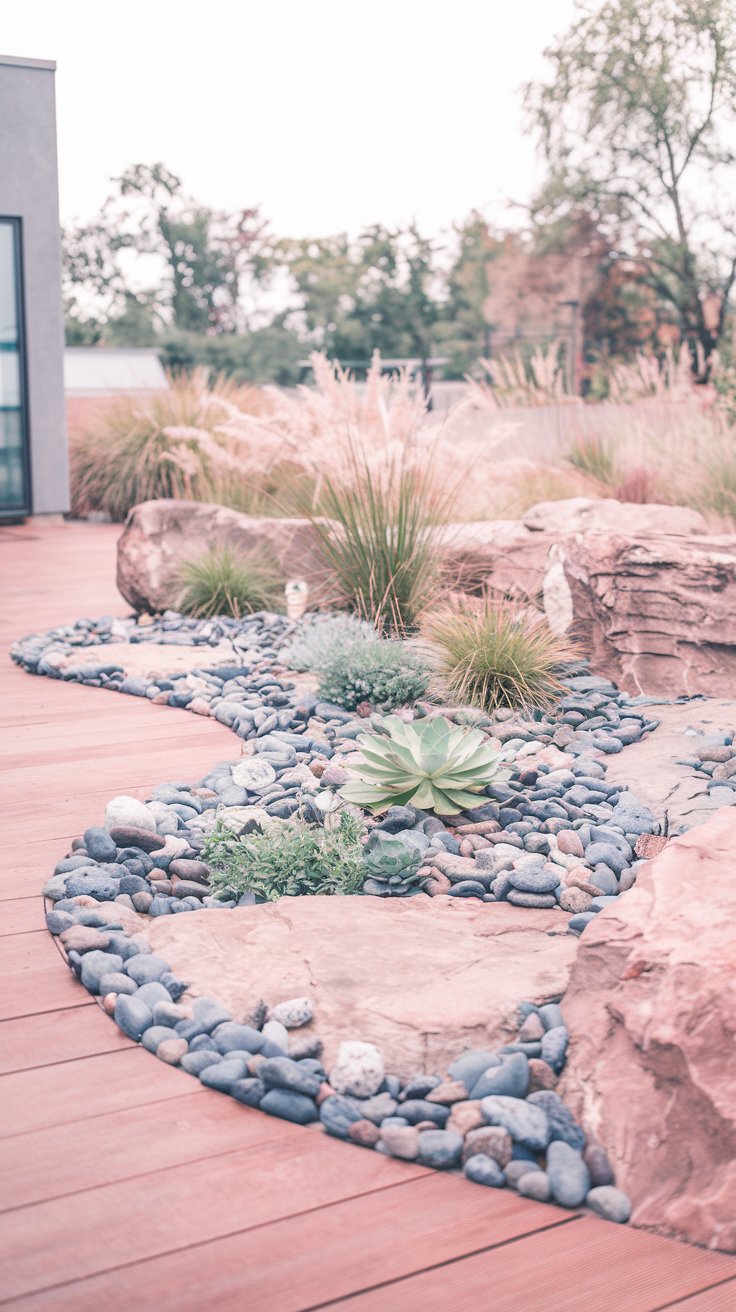
8. Low-Maintenance Rock Garden
Picture this: Amidst your garden space, a tranquil rock garden forms a low-maintenance focal point with varied stones surrounding drought-tolerant plants like succulents and ornamental grasses. The neutral tones of the rocks contrast beautifully with the greens, offering a serene and modern vibe.
- Step 1: Choose an area with ample sunlight for your rock garden.
- Step 2: Lay a weed suppressant fabric to minimize maintenance.
- Step 3: Arrange rocks of different sizes and shapes artistically in the space.
- Step 4: Plant drought-tolerant species, grouping them for visual appeal.
Tip: Use a color theme for stones and plants to harmonize with your existing garden color scheme.
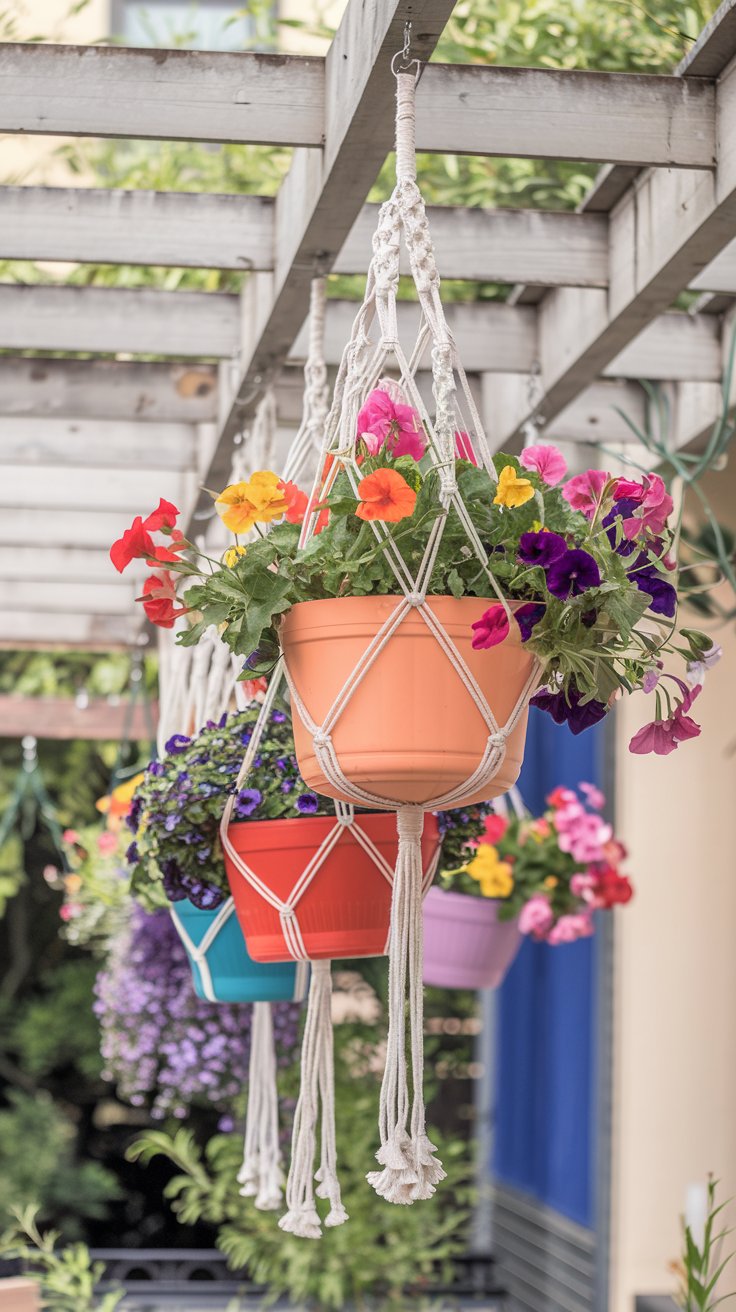
9. Topsy Turvy Planters
Picture this: Dangling above your patio, an assortment of upside-down planters filled with vibrant flowers creates a whimsical display. Their colorful blooms sway gently, adding an unexpected pop of color and life in the air.
- Step 1: Select sturdy pots and secure a plant-safe plug for the bottom hole.
- Step 2: Insert your plants through the base and fill the pot with soil.
- Step 3: Use strong macrame hangers or create your own to suspend them.
- Step 4: Position in a bright area for your flowers to thrive upside down.
Tip: Ensure you plant trailing varieties to make the most of the design.
10. Water Feature from Old Pots
Picture this: An old, ceramic pot becomes a serene water feature, its soft trickling enhancing the tranquility of your backyard oasis. The vivid colors of the ceramic shimmer as water cascades over the edge, creating a soothing soundtrack to your outdoor sanctuary.
- Step 1: Choose a large pot and seal its drainage holes to prevent leaks.
- Step 2: Install a small, submersible water pump inside the pot.
- Step 3: Fill the pot with water and add decorative stones or aquatic plants.
- Step 4: Plug in the pump and enjoy the gentle sound of flowing water.
Tip: Place near a seating area to enjoy the sound effect during relaxing moments.
11. Living Wall Art
Picture this: A once-blank exterior wall becomes an extraordinary canvas for living art, featuring a variety of succulents planted in a vertical framework. The assorted shades of green, purple, and silver form a tapestry of textures and shapes that captivate the eye.
- Step 1: Craft or purchase a sturdy frame with an attached wire mesh or grid.
- Step 2: Attach landscape fabric at the back of the frame to hold soil in place.
- Step 3: Fill with cactus soil mix and plant succulents through the mesh openings.
- Step 4: Regularly mist the plants to maintain their health and vibrancy.
Tip: Arrange plants by color and texture to form patterns or gradients.
16. Homemade Stepping Stones
Picture this: Personalized stepping stones, each a work of art, guide visitors through your garden. Their surfaces, embedded with colorful tiles, seashells, or handprints, tell stories of creativity and cherished moments shared outdoors.
- Step 1: Gather materials like concrete mix, molds (such as baking pans), and decorative items.
- Step 2: Mix the concrete according to the package instructions.
- Step 3: Pour into molds and press decorations or imprints onto the surface.
- Step 4: Allow to dry thoroughly before placing into your garden design.
Tip: Use pigments to tint the concrete, creating a cohesive color scheme.
17. Reclaimed Window Greenhouse
Picture this: Old window frames find new life as a quaint, rustic greenhouse, sheltering delicate seedlings and extending your growing season. The glass panes filter sunlight, creating a warm and inviting microclimate inside.
- Step 1: Source old windows with sturdy frames from salvage yards or classified ads.
- Step 2: Securely join the frames into a structure using screws or brackets.
- Step 3: Seal any gaps to retain heat and improve insulation.
- Step 4: Place in a sunny part of your garden and fill with pots and seedlings.
Tip: Add a small vent for airflow when the greenhouse becomes too warm.
18. Tire Planters
Picture this: Brightly painted tires stacked and staggered across your garden, their vivid colors contrasting brilliantly against the greenery. Within each tier, joyful flowers peek out, adding playful bursts of life.
- Step 1: Collect used tires and clean them thoroughly.
- Step 2: Paint the tires in bold, weather-resistant colors.
- Step 3: Arrange in single or tiered formations depending on space and preference.
- Step 4: Fill with soil and plant robust flowers or creepers.
Tip: Drill holes for drainage in the bottom of each tire planter.
19. Bottle Garden Edging
Picture this: Rows of colorful glass bottles line the edges of your garden beds, catching the sunlight and casting a kaleidoscope of colored reflections. This unique border adds a quirky touch while recycling materials creatively.
- Step 1: Collect empty glass bottles over time, aiming for varied colors and shapes.
- Step 2: Clean the bottles and remove any labels.
- Step 3: Dig a shallow trench where you wish to place the edging.
- Step 4: Bury the bottles neck-down, leaving only the bases visible above the soil line.
Tip: Use a consistent height for balance, or vary heights for a more whimsical effect.
20. Portable Garden
Picture this: An assortment of lush greenery thrives in moveable containers on wheeled platforms. This versatile setup allows you to swiftly rearrange your garden layout or chase the best light conditions throughout the seasons.
- Step 1: Choose wheeled plant stands or add castors to the bottoms of large containers.
- Step 2: Fill with potting soil suited to your choice of plants.
- Step 3: Arrange plants that either complement or contrast for visual interest.
- Step 4: Position in an area with optimal sunlight, moving when necessary.
Tip: Choose lightweight materials for pots to ease mobility.
21. Rain Chain Water Feature
Picture this: As rain gently cascades down a rain chain, suspended from the eaves of your house, it captures attention with its soothing trickle. Decorative links, alternating with small cups or leaves, create visual and auditory charm as water descends.
- Step 1: Purchase or create a rain chain using metal or ceramic components.
- Step 2: Install at the end of a gutter or overhang, guiding water into a catch basin or planting area.
- Step 3: Ensure a stable attachment to withstand weather conditions.
- Step 4: Position over a decorative basin to collect water, keeping plants hydrated.
Tip: Integrate LED lights around the chain for nighttime illumination.
With each of these ideas, not only will you save money, but you’ll also have a unique garden that reflects your personal style and creativity. So go ahead, get your hands dirty, and have fun transforming your garden into a budget-friendly haven!
Happy gardening! 🌿
