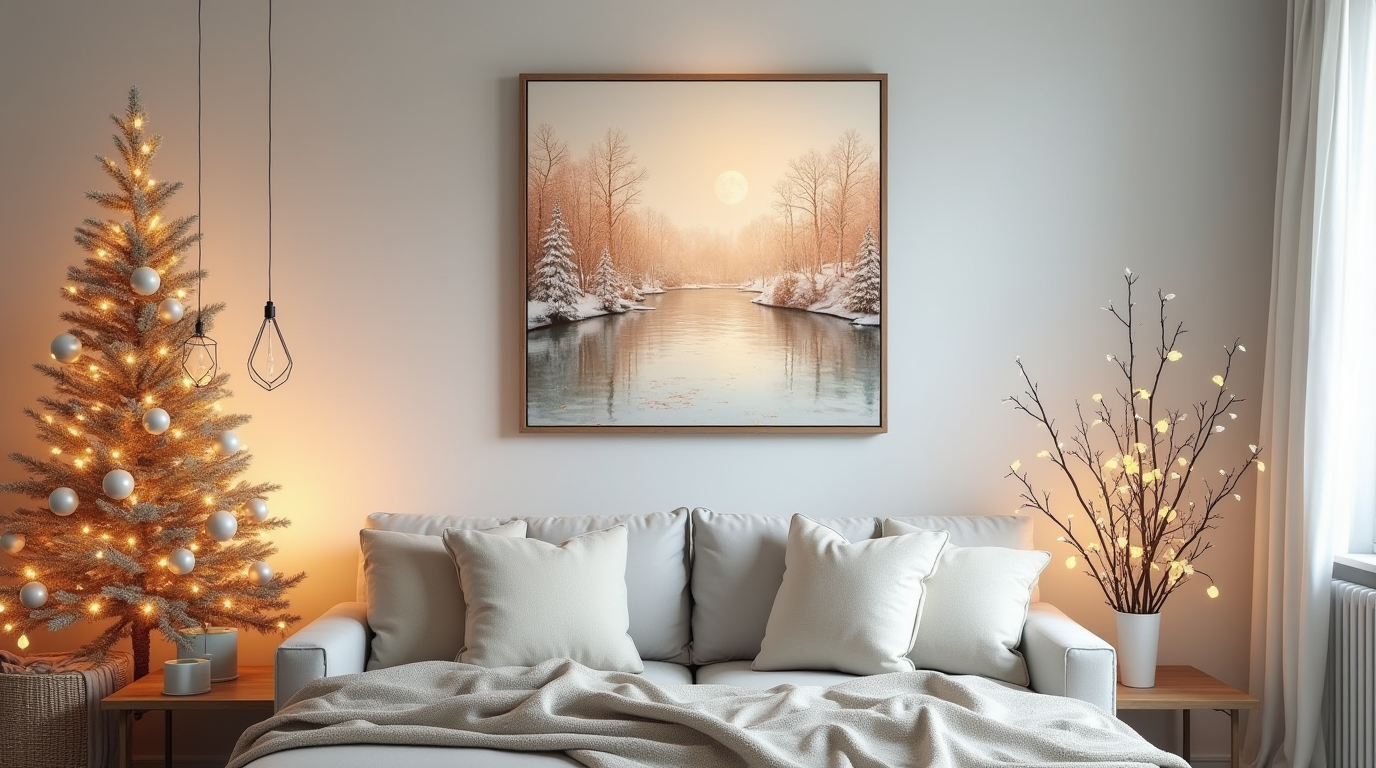
This website contains affiliate links. Some products were gifted for testing. Content may include AI assistance. Images are illustrative, not official Amazon images, and may differ from actual products. As an Amazon Associate, I earn from qualifying purchases.
Hey there, creative souls! ✨ Grab your hot cocoa and let’s dive into the most budget-friendly, heart-warming winter wall art projects that’ll transform your space without breaking the bank. Trust me, by the end of this guide, your walls will be singing with winter magic – and your wallet will be thanking you!
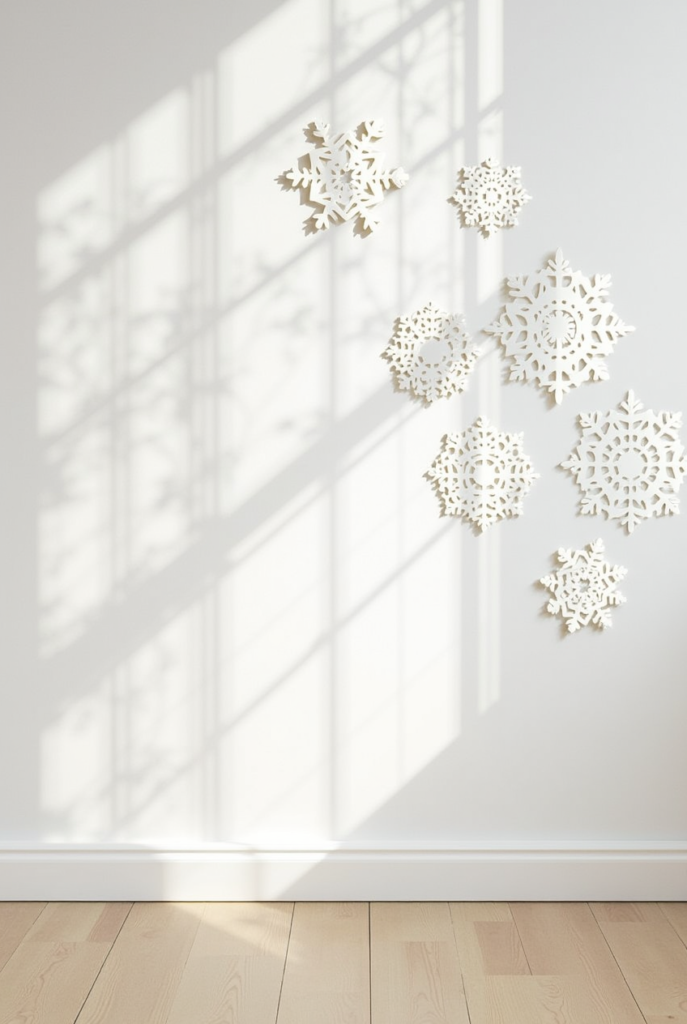
1. Snowflake Paper Cutout Wonderland
Total Cost: $5-$10
Picture this: Soft winter sunlight filtering through delicate, intricately cut paper snowflakes, casting magical shadows on your pristine white walls. Pure winter romance!
What You’ll Need:
- White cardstock
- Scissors
- Command strips or tape
Step-by-Step Magic:
- Download free snowflake templates online
- Trace and carefully cut out various sizes
- Arrange in a stunning cluster or elegant cascade
- Attach with removable adhesive
Pro Tip: Fold your paper in half or quarters for symmetrical designs that look professional-level incredible!
2. Rustic Wood Slice Winter Landscape
Total Cost: $25-$30
Picture this: A cozy cabin nook with a minimalist wood slice painting that captures the serene beauty of snow-covered pines against a soft, misty background. Pure mountain retreat vibes!
What You’ll Need:
- Wood slices (craft store or online)
- Acrylic paint
- Paintbrushes
- Twine for hanging
Step-by-Step Magic:
- Base coat your wood slice with white or cream
- Use varying shades of blues and grays for landscape
- Add delicate pine silhouettes
- Seal with clear protective spray
- Attach twine for hanging
Insider Secret: Slightly imperfect brushstrokes make it look authentically artisan!
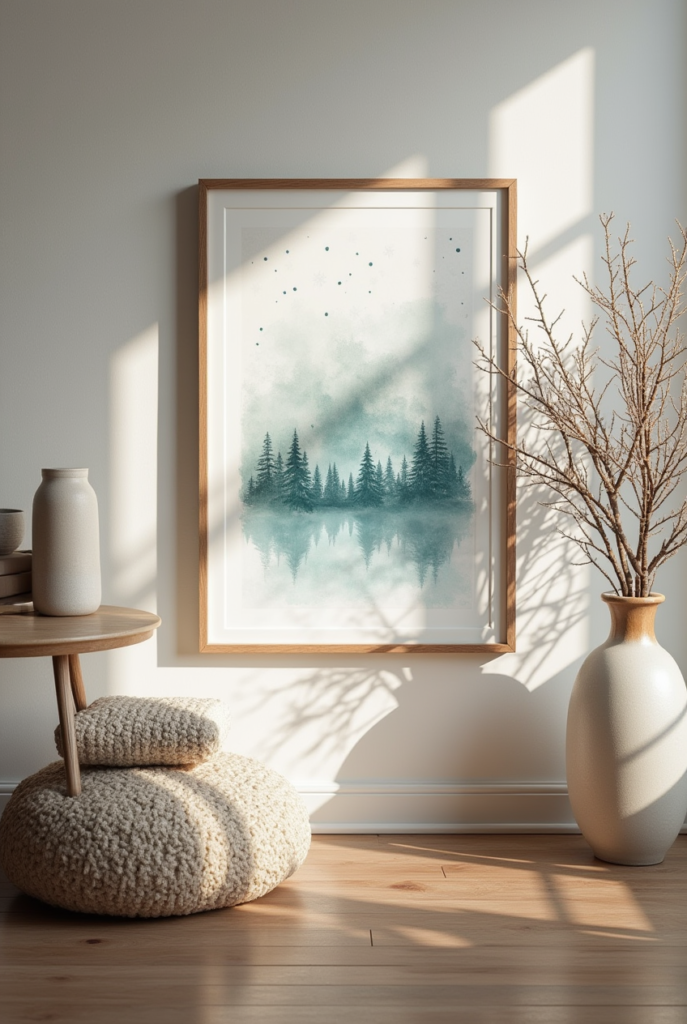
3. Watercolor Winter Wonderland Canvas
Total Cost: $15-$20
Picture this: A dreamy, soft watercolor canvas that captures the ethereal beauty of a snow-covered landscape, with gentle blues, whites, and hints of silvery gray. Like a whispered winter memory!
What You’ll Need:
- Watercolor paper or canvas
- Watercolor paints
- Brushes
- Floating frame (optional)
Step-by-Step Magic:
- Wet your canvas slightly
- Layer soft blues and whites
- Use salt for creating snow-like texture
- Add subtle landscape elements
- Let dry completely
Crafting Confession: I once spilled my coffee on a watercolor and created the most amazing “accidental art” – embrace the imperfections!
4. Pressed Botanical Winter Frost Frame
Total Cost: $20-$25
Picture this: Delicate white branches and frosted leaves suspended in a clear frame, catching the winter light like a living piece of art. Minimalist magic meets natural beauty!
What You’ll Need:
- Clear floating frame
- White/silver spray paint
- Collected branches
- White cardstock
Step-by-Step Magic:
- Collect interesting branches
- Lightly spray with white/silver paint
- Arrange on white background
- Seal in floating frame
Bestie Tip: Winter walks are now your art supply shopping trip! 🍃
5. Minimalist Geometric Snow Scene
Total Cost: $15-$20
Picture this: A sleek, modern interpretation of a winter landscape – clean lines, geometric shapes in cool blues and whites, creating an abstract winter narrative on your wall.
What You’ll Need:
- Canvas
- Painter’s tape
- Acrylic paint in winter palette
- Ruler
Step-by-Step Magic:
- Create geometric triangles with tape
- Paint in cool, muted tones
- Remove tape for crisp lines
- Optional: Add metallic accent
Real Talk: Geometric art looks WAY more complicated than it is. You’ve got this!
6. Vintage Book Page Winter Silhouette
Total Cost: $10-$15
Picture this: An old book page transformed into a magical winter scene, with delicate silhouettes of winter trees or animals creating a nostalgic, storytelling piece of art.
What You’ll Need:
- Old book pages
- Black acrylic paint
- Fine paintbrush
- Frame
Step-by-Step Magic:
- Select interesting book page
- Create winter silhouette
- Frame in simple white or wood frame
- Optional: Lightly watercolor background
Crafting Confession: Thrift store books are my secret art supply treasure!
7. Copper Wire Snow Crystal
Total Cost: $20-$25
Picture this: A stunning, three-dimensional snowflake crafted from delicate copper wire, catching light and creating intricate shadows. Modern, minimalist winter magic!
What You’ll Need:
- Copper wire
- Wire cutters
- Pliers
- Command hook
Step-by-Step Magic:
- Bend wire into snowflake pattern
- Create multiple layers
- Secure connections
- Hang strategically to catch light
Pro Tip: YouTube tutorials are your best friend for wire shaping!
8. Embroidery Hoop Winter Landscape
Total Cost: $15-$20
Picture this: A cozy embroidery hoop transforming into a delicate winter scene, with soft embroidery threads creating a textured, dimensional artwork.
What You’ll Need:
- Embroidery hoop
- White/blue embroidery thread
- Needle
- Fabric
Step-by-Step Magic:
- Select neutral fabric background
- Sketch winter landscape
- Embroider using various stitches
- Trim and secure in hoop
Bestie Note: Perfect while binging your favorite show!
9. Salt Dough Snowflake Wall Hanging
Total Cost: $5-$10
Picture this: Handcrafted salt dough snowflakes with a vintage, slightly imperfect charm, hung delicately to catch winter light.
What You’ll Need:
- Flour
- Salt
- Water
- Cookie cutters
- White paint
- Twine
Step-by-Step Magic:
- Mix salt dough
- Cut snowflake shapes
- Bake and cool
- Paint white
- Add hanging twine
Crafting Confession: My kitchen always looks like a snow globe during these projects!
10. Watercolor Winter Quote Art
Total Cost: $15-$20
Picture this: A beautifully lettered winter quote on a soft, dreamy watercolor background that speaks to the soul of the season.
What You’ll Need:
- Watercolor paper
- Watercolors
- Calligraphy pen
- Frame
Step-by-Step Magic:
- Create watercolor background
- Let dry completely
- Add inspiring winter quote
- Frame in simple, clean frame
Real Talk: Imperfect lettering is artistic – embrace the wobbles!
11. Frost-Inspired Resin Wall Hanging
Total Cost: $25-$30
Picture this: A crystalline wall hanging that captures the delicate, ethereal beauty of frost-covered windows – like freezing a magical winter moment in time!
What You’ll Need:
- Clear epoxy resin
- Silicone mold
- White and blue acrylic paint
- Glitter (optional)
- Hanging hardware
Step-by-Step Magic:
- Mix resin according to package instructions
- Add subtle white and blue swirls
- Sprinkle minimal glitter for frost effect
- Let cure completely
- Attach hanging hardware
Crafting Confession: Resin can be tricky, but practice makes perfect. Embrace the learning curve!
12. Woodland Creature Stencil Art
Total Cost: $15-$20
Picture this: A cozy corner with a minimalist stenciled scene of winter woodland creatures – think delicate deer, foxes, and rabbits against a soft, misty background.
What You’ll Need:
- Canvas
- Stencils (or create your own!)
- Acrylic paint
- Sponge brushes
- Painter’s tape
Step-by-Step Magic:
- Prepare light background color
- Carefully place stencils
- Dab paint with sponge brush
- Remove stencils carefully
- Add subtle shadow details
Pro Tip: Freezer paper makes incredible DIY stencils – total game-changer!
13. Macramé Snowflake Wall Hanging
Total Cost: $20-$25
Picture this: A boho-chic macramé creation that looks like an intricate, delicate snowflake – bringing texture and winter whimsy to your walls.
What You’ll Need:
- White cotton macramé cord
- Wooden dowel
- Scissors
- Measuring tape
Step-by-Step Magic:
- Cut various length cords
- Learn basic macramé knots
- Create snowflake-inspired pattern
- Trim edges for clean finish
- Hang on decorative dowel
Bestie Note: YouTube macramé tutorials are your new best friend!
14. Winter Landscape Photography Collage
Total Cost: $20-$25
Picture this: A gallery wall of winter landscapes – black and white photographs creating a stunning, minimalist winter story across your wall.
What You’ll Need:
- Printable photos
- White poster board
- Black frames
- Adhesive mounting squares
Step-by-Step Magic:
- Print winter landscape photos
- Choose complementary black and white images
- Create balanced layout
- Mount in matching frames
- Hang with precision
Real Talk: Your phone’s camera is totally capable of pro-level shots!
15. Textured Snow Scene Canvas
Total Cost: $15-$20
Picture this: A three-dimensional canvas that looks like a soft, textured winter landscape – complete with raised snow and subtle landscape elements.
What You’ll Need:
- Canvas
- Texture paste
- Acrylic paints
- Palette knife
- Paintbrushes
Step-by-Step Magic:
- Apply texture paste for snow
- Create landscape base
- Paint in cool winter tones
- Add subtle metallic highlights
- Let dry completely
Crafting Confession: Sometimes the messiest techniques make the most beautiful art!
16. Minimalist Birch Tree Silhouette
Total Cost: $10-$15
Picture this: Clean white canvas with elegant birch tree silhouettes – a breath of winter serenity that brings calm to any room.
What You’ll Need:
- Canvas
- Black acrylic paint
- Thin painter’s tape
- White paint
Step-by-Step Magic:
- Create birch tree stencils
- Paint white background
- Add black tree silhouettes
- Peel tape carefully
- Optional: Add subtle metallic touch
Pro Tip: Imperfect lines make it look more artistic!
17. Upcycled Window Frame Winter Scene
Total Cost: $20-$30
Picture this: An old window frame transformed into a stunning winter artwork – bringing vintage charm and winter magic to your walls.
What You’ll Need:
- Old window frame
- White and blue paint
- Stencils
- Hanging hardware
Step-by-Step Magic:
- Clean and sand window frame
- Paint frame white
- Create winter scene behind glass
- Seal and protect
- Hang as statement piece
Bestie Note: Thrift stores are treasure troves for these projects!
18. Paper Quilling Snowflake Art
Total Cost: $15-$20
Picture this: Delicate, intricate paper quilling creating a stunning snowflake design – a true labor of love and patience.
What You’ll Need:
- Quilling paper strips
- Quilling tool
- White frame
- Glue
Step-by-Step Magic:
- Learn basic quilling techniques
- Create snowflake design
- Carefully glue elements
- Mount in white frame
- Add subtle background
Crafting Confession: Totally therapeutic and slightly addictive!
19. Winter Constellation Map
Total Cost: $20-$25
Picture this: A dreamy, scientific-meets-artistic representation of winter night sky constellations – perfect for stargazers and art lovers.
What You’ll Need:
- Dark blue canvas
- Metallic paint
- Stencils or template
- Tiny rhinestones (optional)
Step-by-Step Magic:
- Paint dark blue background
- Map constellation points
- Connect with metallic lines
- Add tiny stars/rhinestones
- Frame or hang directly
Pro Tip: NASA’s website has free constellation maps!
20. Hygge-Inspired Cozy Wall Textile
Total Cost: $25-$30
Picture this: A soft, textured wall hanging that embodies the Danish concept of coziness – all winter warmth and comfort in textile form.
What You’ll Need:
- Large embroidery hoop
- Chunky yarn
- Weaving needle
- Neutral fabric base
Step-by-Step Magic:
- Secure fabric in hoop
- Create textured weaving
- Add different yarn textures
- Incorporate soft whites/grays
- Hang in cozy corner
Real Talk: This is basically self-care in art form!
And Finally A Bonus One For Ya 😉
21. Winter Memory Shadowbox Collage
Total Cost: $25-$30
Picture this: A deeply personal memory frame that captures the magic of winter – pine needles, vintage postcards, delicate snowflakes, and tiny mementos suspended in a dreamy, layered display of your most cherished winter moments.
What You’ll Need:
- Deep shadowbox frame
- White cardstock
- Collected winter mementos
- Dried pine sprigs
- Glue gun
- White tissue paper
- Metallic paint pen
Step-by-Step Magic:
- Select a meaningful shadowbox frame
- Create layered background with white cardstock
- Arrange personal winter mementos
- Add dried pine sprigs and delicate elements
- Use metallic pen for subtle accent details
- Secure items carefully with minimal glue
Crafting Confession: This is basically a time capsule of winter memories – part art, part storytelling, total magic! ❄️
Bestie Pro Tips:
- Collect mementos throughout the winter
- Choose items with personal significance
- Layer items at different depths for dimension
- Think beyond traditional scrapbooking – get creative!
Memory Makers to Collect:
- Ticket stubs from winter events
- Pressed leaves or pine needles
- Vintage postcards
- Small photos
- Fabric swatches
- Tiny found objects
Creative Twist: Make this a family project! Have everyone contribute a small memory or item that represents their favorite winter moment.
Final Cozy Thoughts 🤍
Listen, crafting mavens – these projects aren’t just about decorating walls. They’re about creating moments, memories, and a little bit of magic during these chilly months. Each piece tells a story, YOUR story.
Remember: Art doesn’t have to be perfect. It just has to make YOU happy. So grab those supplies, put on some fuzzy socks, queue up a playlist, and let’s make some winter magic!
Happy crafting, my creative friend! ✨❄️
Budget Breakdown:
- Lowest Project Cost: $5
- Highest Project Cost: $30
- Average Project Cost: $15-$20


